Prikaz objav z oznako Micro Glaze. Pokaži vse objave

sobota, 17. julij 2021

Free Hugs

 Hello!


Here I am with a new creation for you!

My sister in law asked me to make something to thanks her coworkers during coronavirus pandemic time. They have to change wokplaces for a while.

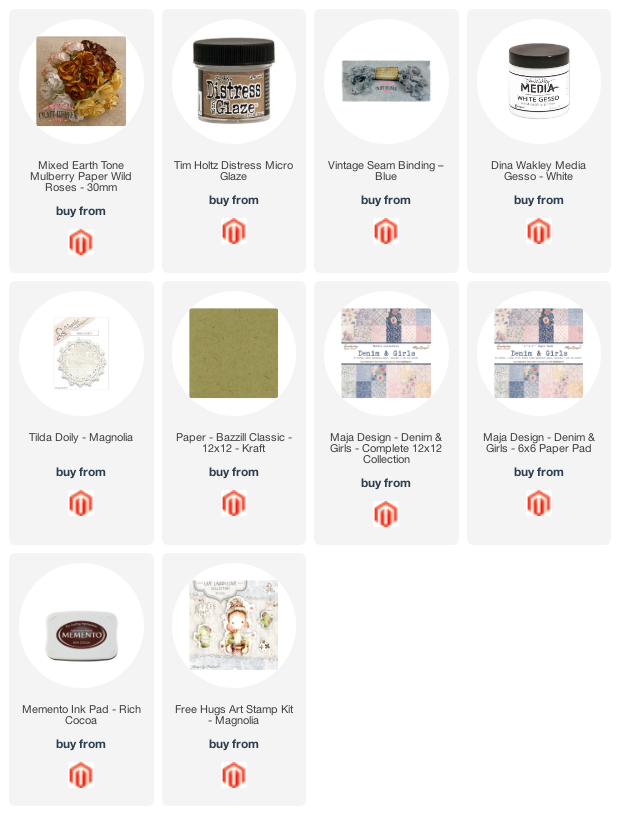
So I choose to make a tag using Free Hugs Arts Stamp Kit from 2019 Live Laugh Love Collection and still available in Craftheaven shop. 


Design papers used are from 12x12 Maja Design Denim & Girls collection.
The thag is made using Bazzill Classic 12x12x- Kraft.
I used Tilda Doily die ... for image bacground.


The bow on dthe top is made with Vintage Seam Binding.


I added few white roses  and White Gesso here and there oner the tag.


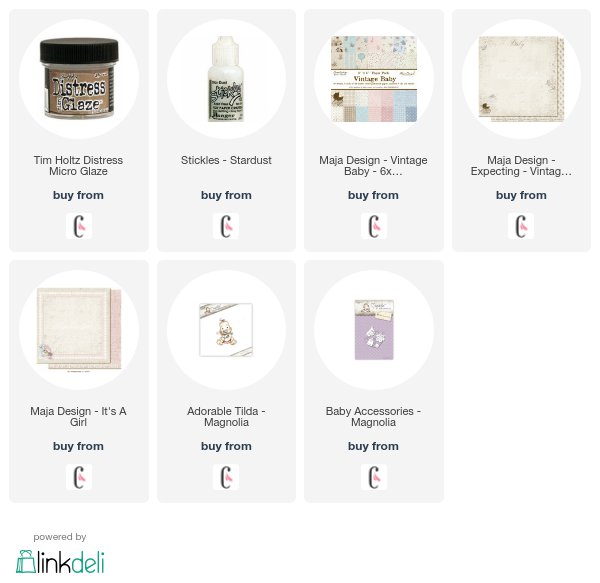
I sealed my image with Tim Holtz Distress Micro Glaze. 
This is the perfects water resistent sealer for all my craft projects.


Heve a nice day and happy crafting!

Hugs!!! Barbara GR

petek, 11. december 2020

Santa Tilda/ Edwin


Ho Ho Ho Ho!!


Hi! Here I'm with one of my Christmas creations. The stamps from "Christmas collection 2020"
 are really gorgeous. I have most of them and was really difficult to choose with wich one I can start.
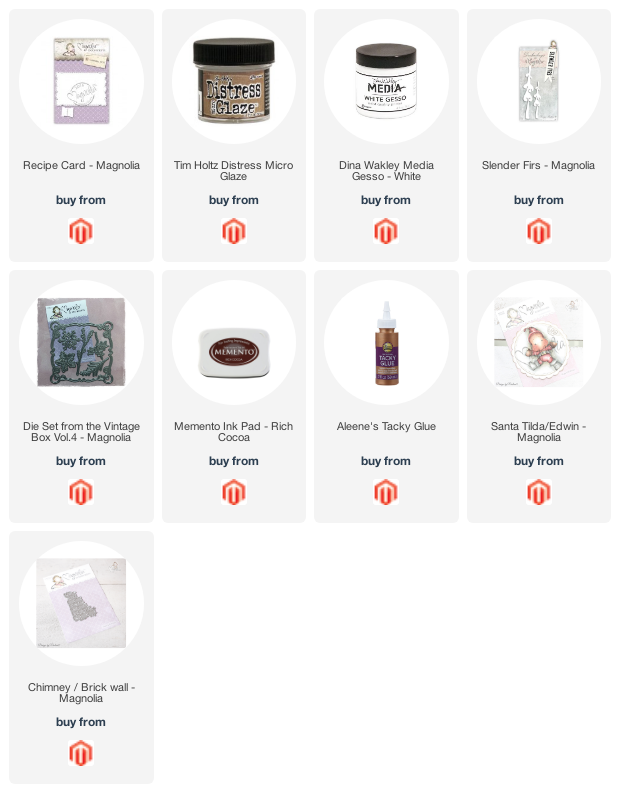
The first stamp used is "Santa Tilda/Edwin".


All paper pads are from Maja Design collections. I made it using old paper pads, buth this year's collections are just beathtaking... again 😍


Dies used are almost all available in Tina's shop. There are:
"Slender Firs", "Recipe Card", "Chimney/Brik Wall" and dies from Vintage Box Vol. 14.


Tilda is coloured with Distress inks, sealted with Tim Holtz Distress Glaze. As usual I'v added some Gesso here and there.
I almost forgot... I added few half pearls and sparkles around this cute Santa..


-+

Thank you for visiting!

See you very soon with another creation!
Hugs, Barbara


četrtek, 15. oktober 2020

Confirmation card


Hi!

Today I have new proyect to share with you. This time I made a pocket card for a Confirmation.
For change ... I's for boy.


I used few different Maja design paper pads from two different collections.
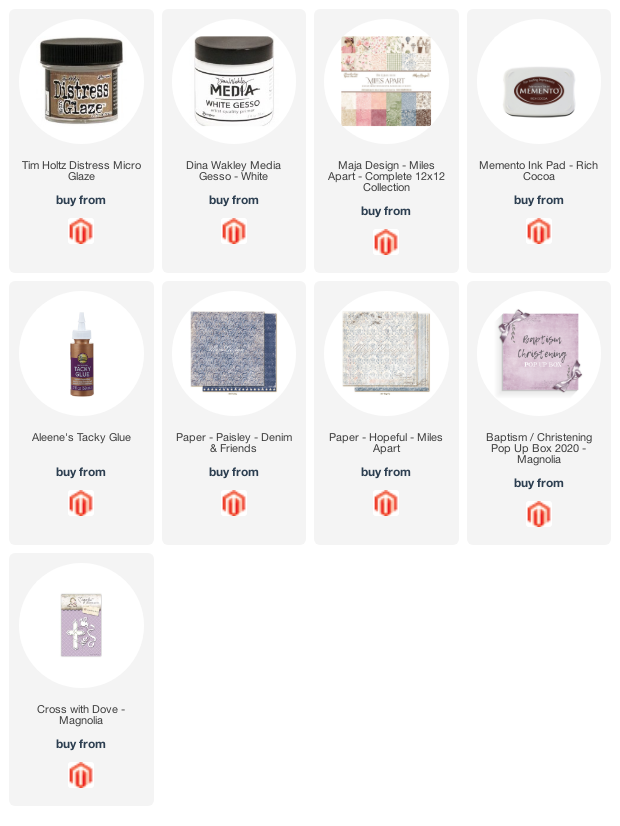
One is from the newest  Miles apart collection.,  paper pads used are Dream away and Hopeful.
The second  paper pad called Paisley is from Denim & Friend collection.


The stamped image is from Baptism / Cristening Pop Up Box 2020 collection.
I coloured it with Distress inks and sealted using Tim Holtz distress Micro Glaze.

Dies used are: 
and from an old Doohickey kit collection.


Behind the image I added some Cheesecloth  and over a card I addeds here and there some Gesso.... just for finish a vintage look.


That is all from me today.

See you next time!
Happy crafting!

HUgs, Barbara GR


sreda, 15. maj 2019

Tulip Love Tilda..

Good morning to you all!

Tina here..
I'm happy to share another make with you..
Those of you who are following me on my Facebook page have already seen some 'work in progress' pics of this, but now I'm finaly ready to share the final result with you..


I am a big fan of cutting dies.. You know that..
And as most of the times I picked a GoKreate set for the card's base..
But let me tell you..
I have a serious addiction to CreaLies dies as well..
They are really growing on me and as you can see I've used them again..
This time I had a play with the Squares with Cross Stitches.. That's what I used to cut the image out..
I keep repeating myself but you get so many sizes in each set, and the price point is awesome!!
I love, love, love them and I will be getting more soon..
I simply need them all! LOL!
Well.. Maybe not all but my wishlist is getting longer and longer..
Check them out HERE.. They are absolutely fantastic!


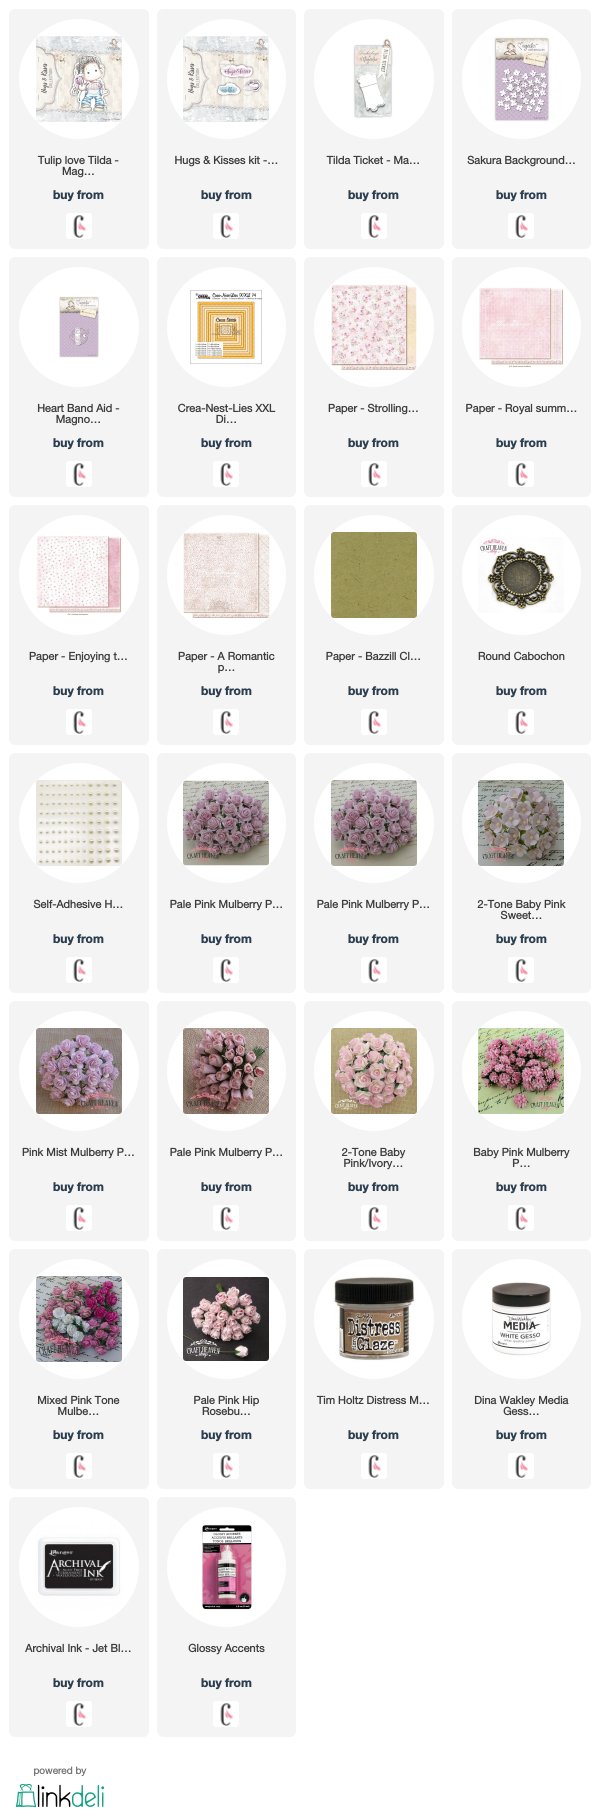
Here she is.. Tulip Love Tilda from the Hugs & Kisses Collection 2019..
Stamped with Archival Ink and coloured with Distress Inks as usual..
If you're interested in the list of colours just let me know..
The sentiment on her right is from that same collection..

Another detail I'm loving to death is that Round Cabochon on the left..
I cut that beautiful rose out of the paper I used on the back of the card, placed it inside the cabochon and topped it with lots of Glossy Accents..


I'm sure you recognized the paper collection..
Yep.. One of Maja Design's most amazing products..
The Sofiero line..
When it comes to kraft paper, my go to paper is the Bazzil Classic - 12x12 - Kraft..

Let's talk some more about dies..
Lots of Magnolia Doohickeys on here..
The Sakura Background is peeking out on the top and bottom of the card and I placed some wonderful flower sequins on the flowers to add more sparkle..
The Tilda Tickets on the top right corner..
And that tiny tag hanging from the flowers.. The heart on it is from the Heart Band Aid set..
The flowers are from WOC if you were wondering..

There's a doily inside..
The heart dies are from Marianne Design..
This set is called Craftables - Basic Shapes - Hearts..

On the back of the card you can see that I used the Spellbinders Standard Circles Large and a die from the Triple Tear set..
Another doily, and some more half-pearls..


Check out that cabochon once again..
I really, really love it!

The image has a light coat of Distress Micro Glaze on, because I always protect my images with that..
The highlights are made with a Ranger White Opaque Pen and I also used a Wink of Stella Glitter Brush on the Tulip..

Gesso, lace and cheesecloth add that extra shabby feel to the whole thing..


So this is what I wanted to share with you today..

Thanks for stopping by!
xoxo
Tina
petek, 5. april 2019

Sitting Spring Tilda..

Good day everyone!
Tina here once again with a card that I really hope you will enjoy..


I'm seriously in love with bunnies, so the only right thing to do was to use one on here..
Let's start with the image..


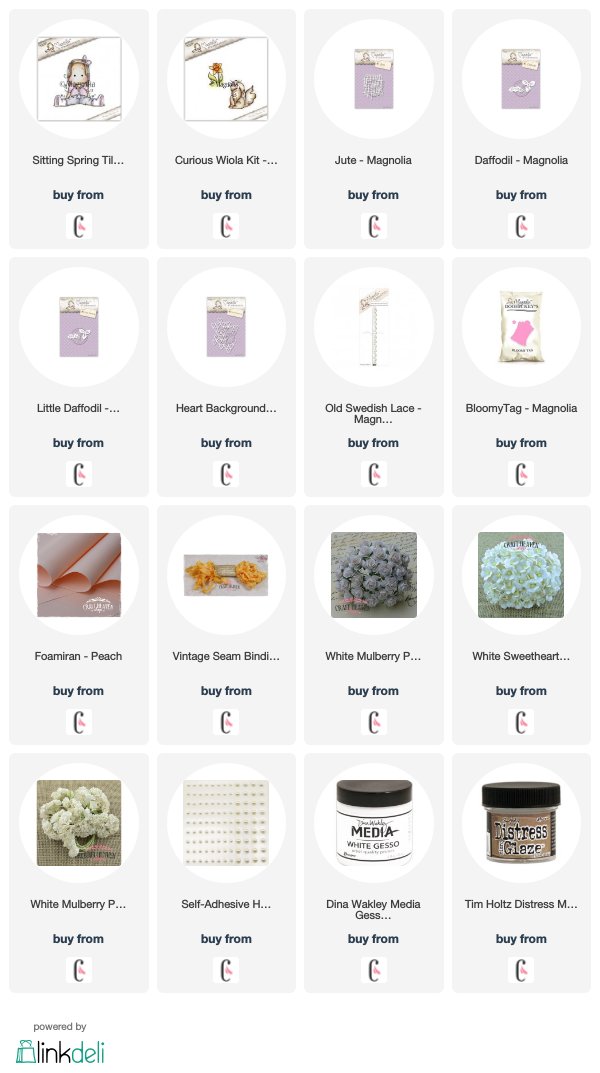
I did a lot of masking and created this little scene with Sitting Spring Tilda from the It's Springtime Collection 2017 and some Magnolia accessories stamps like the Daffodil from the Curious Wiola kit..

Once again I used my absolute favourite colouring medium.. Distress Inks..
Here's a full list of colours that I used:
Skin
Vintage Photo, Tattered Rose
Cheeks
Tattered Rose, Aged Mahogany
Hair
Antique Linen, Walnut Stain
Pants
Weathered Wood, Pumice Stone, Black Soot
Shirt/Boots
Victorian Velvet, Pumice Stone, Black Soot
Rabbit
Walnut Stain, Tattered Rose, Hickory Smoke
Flowers
Scattered Straw, Spiced Marmalade, Hickory Smoke
Grass
Old Paper, Peeled Paint, Forest Moss

After I was done with the colouring, I used a Wink of Stella glitter brush to add sparkle to the flowers, bow, rabbit's tail and nose..
The dots are white Frantage embossing powder and of course the image is sealed with a bit of Distress Micro Glaze..

I cut the image into a square and placed the biggest Spellbinders Marvelous Squares die behind that..
I used my favourite kraft paper for that..
I'm talking about the Bazzil Classic Kraft in 12x12''..


All the designer papers are from Maja Design..

I've added lots of doiles everywhere.. Again..
And I've used plenty of Magnolia Doohickeys too..
The Bloomy Tag, the Heart Background (for the little hearts on the front and inside), the Jute is peeking on the sides and of course an oldie but goodie.. The Old Swedish Lace..

When I was picking the flowers it struck me that I didn't have any orange ones..
So I decided to make them on my own..
I took some Peach Foamiram from the drawer, the Dried Marigold and Spiced Marmalade Distress Inks and two more Magnolia Dies..
The Daffodil and the Little Daffodil..
I have to tell you.. I really really love how they turned out..
The other flowers are from WOC..

The lace and Vintage Seam Binding are both from Craft Heaven Shop as well..


The card's base is made with a GoKreate die from the Large Frame Frilly #5 set and I used the Spellbinders Standard Circles Large and Petite Scalloped Circles Large on the inside and back..

The paper edges are distressed and sewn and three more things I always use are half-pearls, cheesecloth and Gesso..
Simply cannot live without those.. LOL!


One last thing!
I just want to thank you from the heart for stopping by!

Hugs,
Tina

četrtek, 21. marec 2019

Have Dinner with Me Tilda..

Hello everyone!
Tina here with another project for you..
This time it's a little notebook..


The notebook is a pre-made one from my stash..
In the last post I told you that I want to use as much paper scraps as I can..
So I reached for some Maja Design papers that I've had for a long time now..
These still are one of my all time favourites..
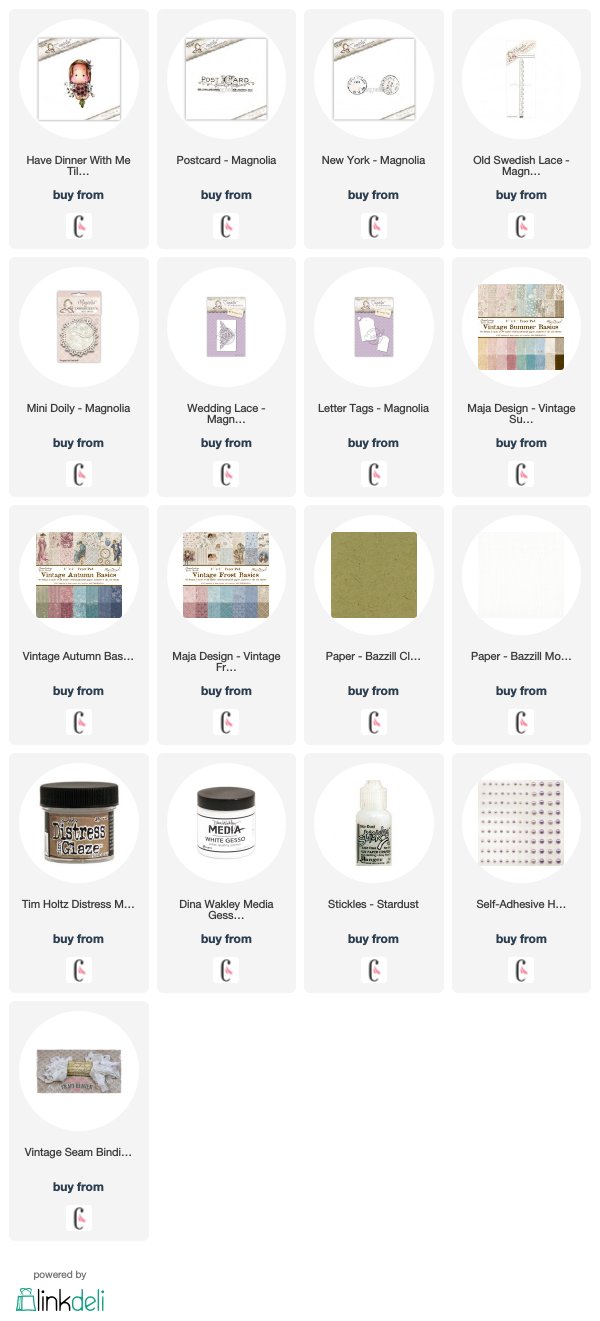
I used three collections: Vintage Autumn Basics, Vintage Summer Basics and Vintage Frost Basics..

I felt like I needed to add some more touches of kraft to match the notebook so I cut out a cute scalloped frame from Bazzil Classic Kraft and put it behind the image..
I wasn't convinced yet so I also added two small tags from Magnolia..
This set of dies is called Letter Tags and I picked the smaller one..
Talking about Bazzil..
I always use the Bazzil Mono Canvas in white for the extra layering..


Now let's move onto the image..
Have Dinner with Me Tilda from the Recipe Card Collection 2017..

She's coloured with Distress Inks and I will list all the colours here in case you wanna have a look..
Skin
Vintage Photo, Tattered Rose
Cheeks
Tattered Rose, Aged Mahogany
Hair
Antique Linen, Walnut Stain
Shirt
Pumice Stone, Black Soot
Flowers/Bow
Victorian Velvet, Pumice Stone, Black Soot
Greenery
Old Paper, Peeled Paint, Forest Moss
Background
Weathered Wood, Pumice Stone, Antique Linen

After I was done with all the colouring, I used some Frantage around her and some Stardust Stickles on the bouquet..
The image is sealed with the Distress Micro Glaze..


Here's a photo from the side so you can actually see all the sparkly bits..
I use the Magnolia Postcard and New York stamp sets on almost every projects so I reached for those again this time ..
The key charm you see hanging over there is from the store as well..
You might have noticed that I used the Old Swedish Lace die too..
It's almost completely covered by all the embellishments and other layers but it's there..


Doiles on the front, doilies on the back..
Can't live without them.. LOL!
And many different WOC flowers as you can see..
I tucked some cheesecloth under those and added touches of Gesso all over the place..
The insides of the covers are decorated as well..
I forgot to take a picture of the back one but I can tell you that I made a tiny pocket with the Wedding Lace Doohickey on there..
Another Magnolia die that I used is the Mini Doily..
I know I use it on most of my projects but it's sooo pretty.. I never get tired of it..
One more thing I tend to use a whole lot are self-adhesive half-pearls..
They are lilac this time..


I used some white Vintage Seam Binding for the closure and some more combined with delicate lace on the side..
This completes today's project people..
I really hope you enjoyed your stay!

Thank you once again for popping by!
I'll be back soon with a new creation..
Stay tuned!

xoxo
Tina

sobota, 16. marec 2019

BathTub Tilda and a VIDEO TUTORIAL..

Good morning people!

Tina here with a new card for you..
You might have seen a sneak peek on my Facebook page already..
This is what I've been working on lately..


For starters I chose the dies for the base of the card..
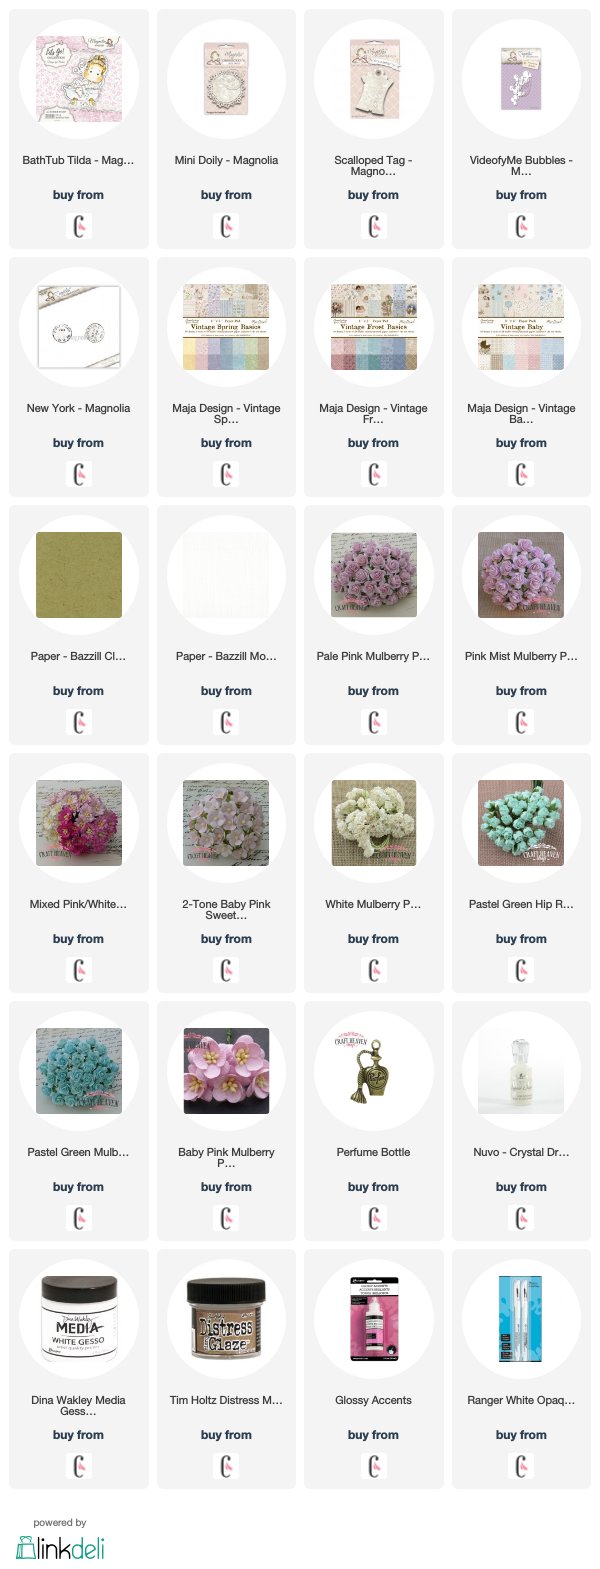
I picked one of the GoKreate Large Frames Frilly #6..
The other one behind the image is from the same company but from the #10 set..

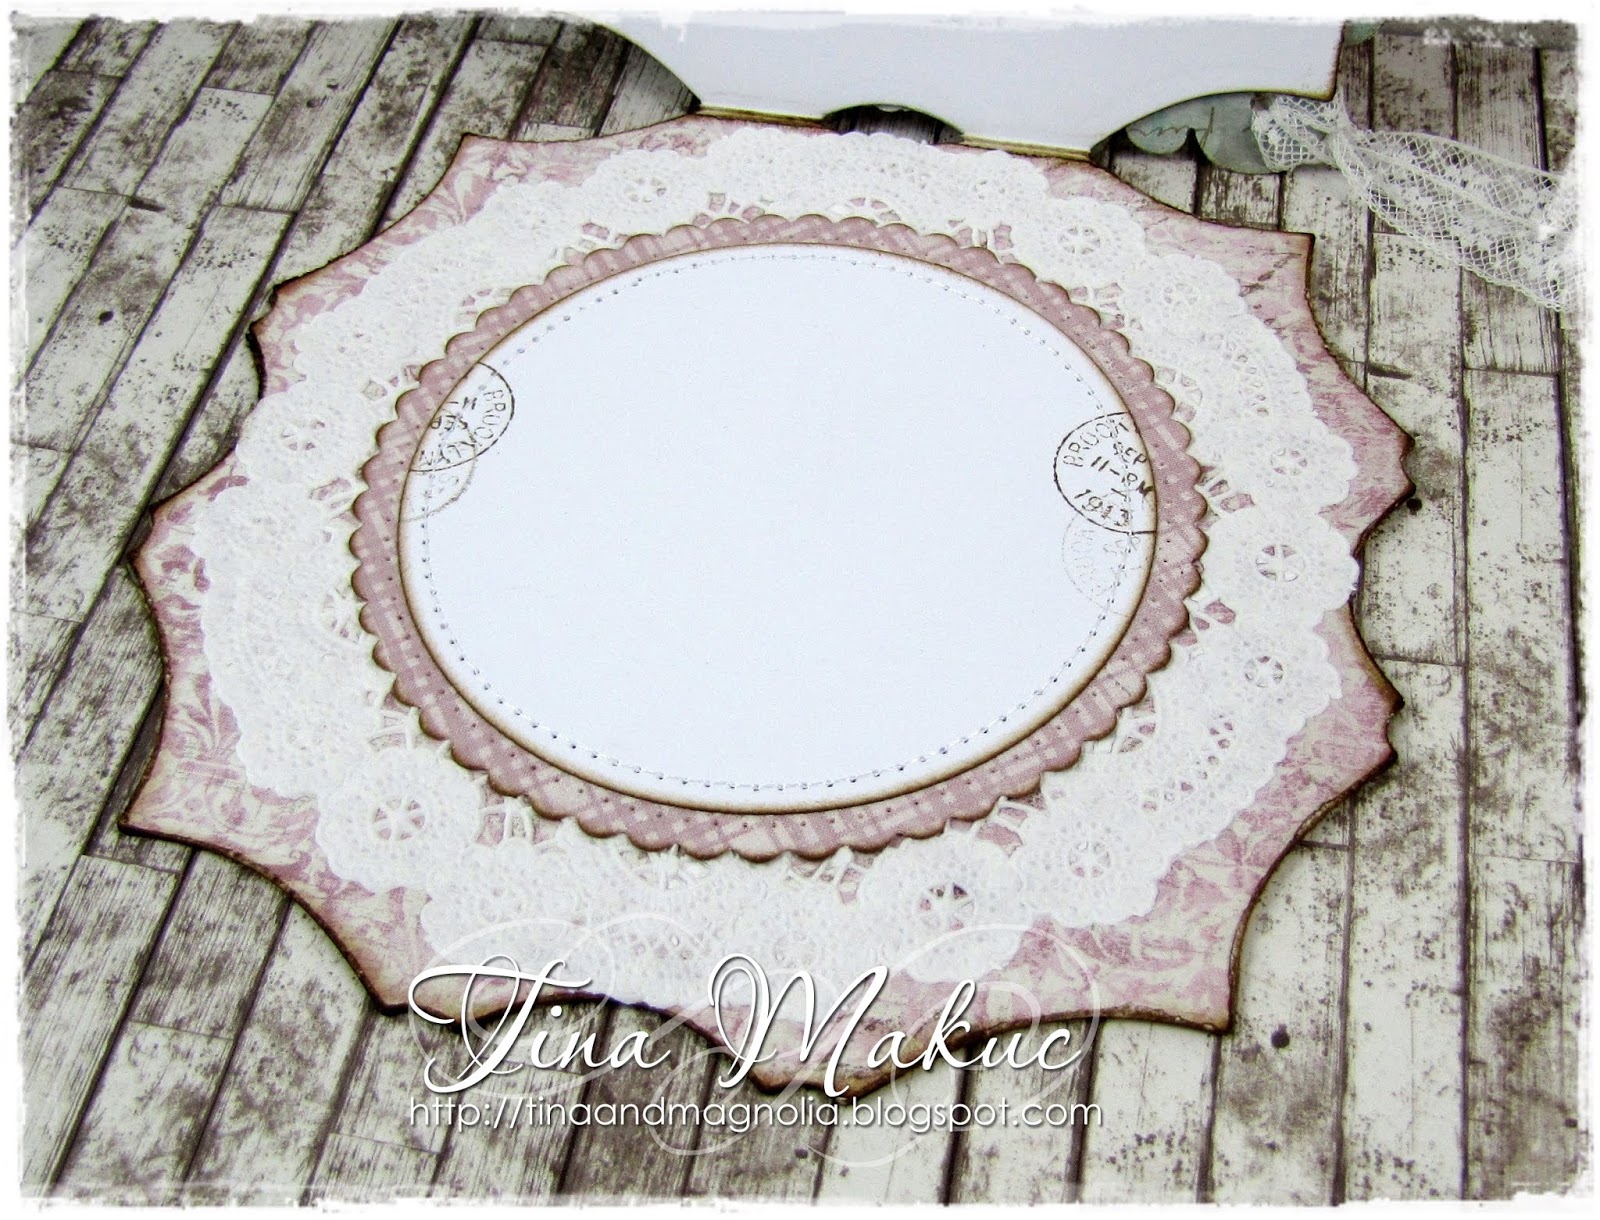
The image was cut out with one of the Spellbinders Standard Circles Large and I placed a slightly bigger cut-out from Bazzil Classic Kraft behind that..
That one is from the Fancy Edged Circles set..

I'm on a hard mission people.. I wanna use as much paper scraps as I can and make room for new supplies, so I found some very, very, very old Reprint papers in my stash and combined those with the gorgeous Maja Design papers from the Vintage Spring Basics, Vintage Frost Basics and Vintage Baby 6x6 Paper Pads..


I'm sure you know this cutie already..
Her name is BathTub Tilda from the Let's Go Collection 2019..
I used her once before to make a video tutorial on how to transfer a coloured image onto a candle..
If you haven't seen it yet, I would be thrilled if you watched it now..
I think this is a super fun technique..


As usually I played with my Distress Inks to colour her up..
Here's a list of all the colours if you're interested:
Skin
Vintage Photo, Tattered Rose
Cheeks
Tattered Rose, Aged Mahogany
Hair
Antique Linen, Walnut Stain
Bathtub
Pumice Stone, Black Soot / Legs: Scattered Straw, Dried Marigold, Pumice Stone
Bubbles
Weathered Wood, Pumice Stone
Background
Weathered Wood, Pumice Stone, Antique Linen

After I was done with the colouring, I used a Wink of Stella glitter brush to add sparkle to the bubbles and I covered them all with Glossy Accents..
It's super sparkly and the shiny finish is just a cherry on top..

The white dots around her are made with Frantage and I always seal the image with a tiny bit of Distress Micro Glaze to preserve it as much as possible..


The doiles are everywhere.. Again.. Honestly I just cannot work without them..
The texture they give is such a nice touch, don't you think?
Same goes for cheesecloth..
A must for me..

I've used the same Spellbinders circle dies on the inside and the postmarks are also the same ones I used around Tilda..
These are Magnolia stamps as well and this specific set is called New York..


There's a bit of soft lace tied on the tags and another super gorgeous lace from Craft Heaven Shop peeking out on the sides..
And the Perfume Bottle charm hanging on there? Don't you love it?

The Scalloped Tag die is from Magnolia, and so is the Mini Doily that I used on the back of the card..
Another Doohickey you can spot on here is the VideofyMe Bubbles.. Simply perfect for this image..

The paper flowers are from WOC..
They are covered in Gesso and I also added some light touches of Nuvo Crystal Drops on them to make them look like they have water droplets on..
My choice was Morning Dew.. This one dries clear so it was perfect for the job..
The half-pearls are from my stash..


Well.. I think I covered it all..
Hope you'll come back for more..
If you have questions don't hesitate to contact me..
I'm more than glad to help..

Thanks so much for stopping by!
I wish you all an amazing day!

xoxo
Tina

sreda, 14. februar 2018

A Fish Kisses To Tilda...

Hello everyone!
Happy Valentine's Day!!!

Hope you are all well! 
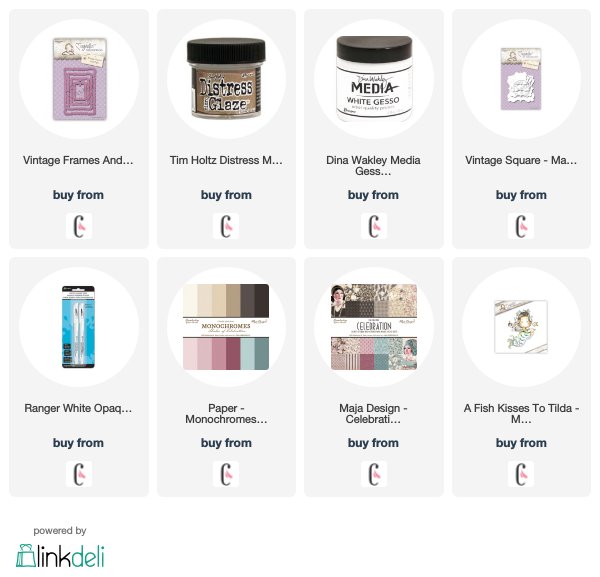
After  cold and flu is time for a deep oceans with the newest A Fish Kisses To Tilda stamp.
I love legends and mermaids... and this stamp is just adorable! Isn't it?


I colour this cutie witd Distress inks and re-inkers... and at the end  added some Stampendous Frntage on her tail of a fish....
I made air bubbles using glitter and Ranger Glossy Accents.

The ppers used are  from the newest Maja Design Collection called Celebration.
For the card shape I used Anniversary, other paper pads are from Monochromes - Shades of Celebration.


Dies used are:
and dies from few DoohickeyKlub kits...


A  sewn my card shape as usual with sewing machine, distresssed al borders and added some Gesso here and there....


... another one...


Thank you for visiting!!!
Have a nice day!
Barbara GR

torek, 30. januar 2018

Baby girl

Hi!

I?m again with you after a short brake. Today 
I'm sharing a baby born card... 
"Baby Girl".


 For this card I used Adorable Tilda from the newest You Are Invited Collection 2018.
The image is coloured with Distress ink... color used are:
Skin - tattered rose, vintage photo
cheeks - victorian velvet, aged mahogany
bow, diaper, baby pacifier and rattle - victorian velvet, black soot


This gorgeous papers are from Maja Design Vintage Baby collection!
all Dies used are from magnolia Dooickey kit collections... but Baby Accessories are available at Craft-Heaven shop...


A little CAS card for a Baby Girl....
Really simple...


Hope you enyoj!

Thank you for visiting!
Hugs, Barbara GR