Prikaz objav z oznako Laserowe. Pokaži vse objave

torek, 30. marec 2021

Wrinkles Don't Hurt


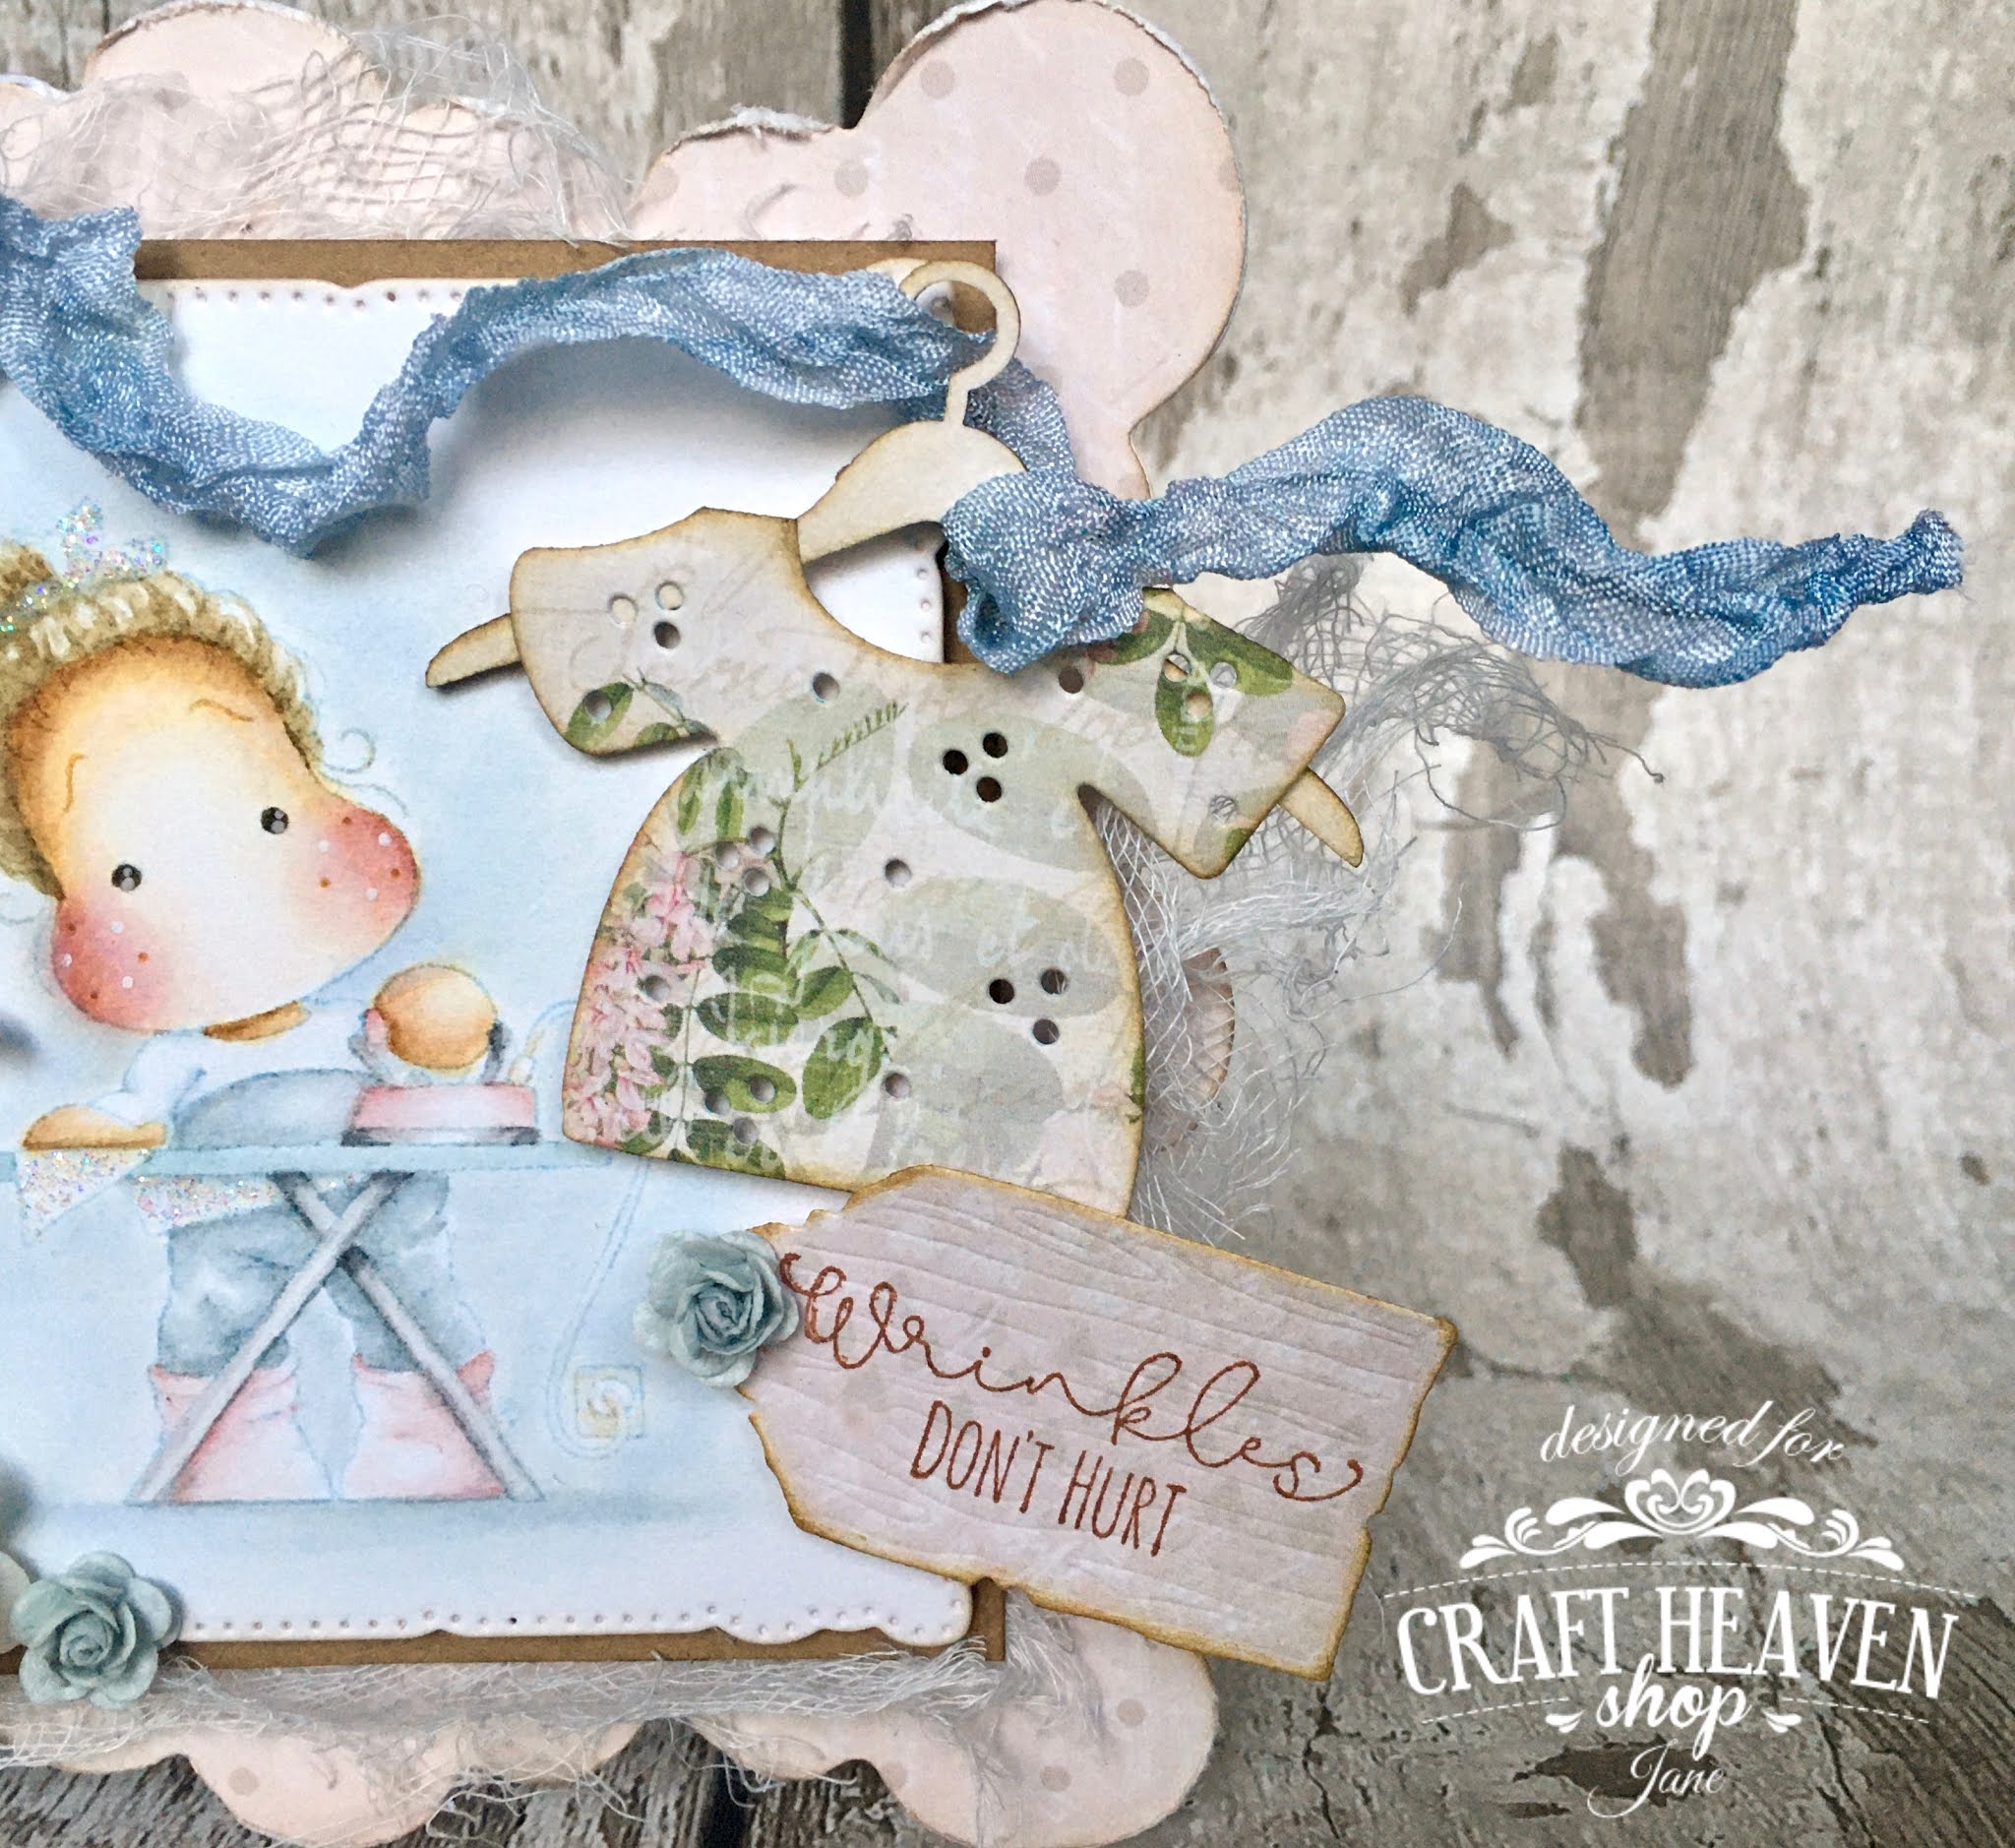
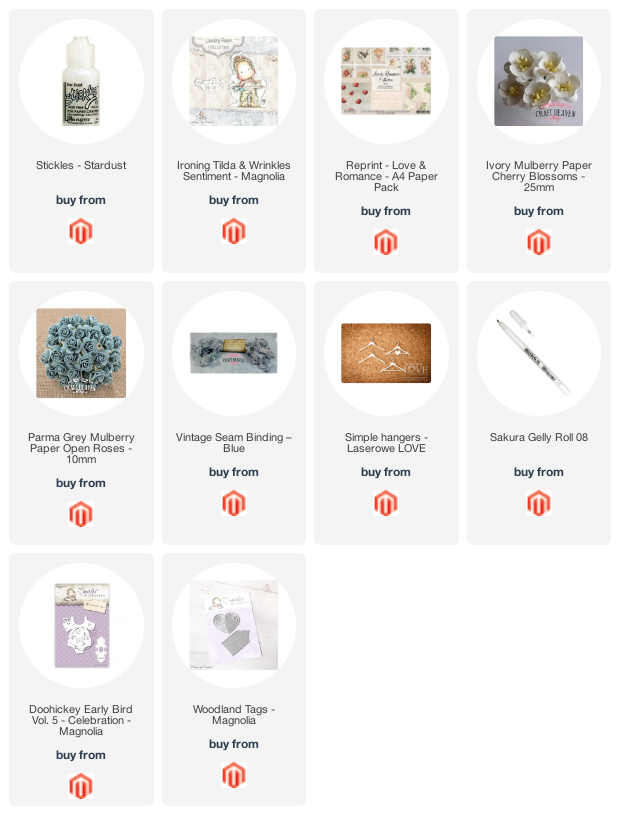
Good evening!  I have a fun new Magnolia image and sentiment set to show you on today's card from the Laundry Collection for Craft Heaven.  The papers are from Reprint's Love and Romance collection.


I have painted Ironing Tilda with Distress Inks and added Stardust Stickles to her ironing and her hair ribbon.


The cute coat hangers are by Laserowe and I have made the dress using the baby's romper Doohickey die - I have simply cut off the leg section.  The seam binding I have used for the scarf is from Craft Heaven.  The sentiment has been stamped onto a tag cut with the Woodland Tag Doohickey die.


I have added another hanger and some flowers from Craft Heaven on the other side of the image.


I hope you like it and thanks for looking!

sreda, 17. februar 2021

Have a Lovely Day


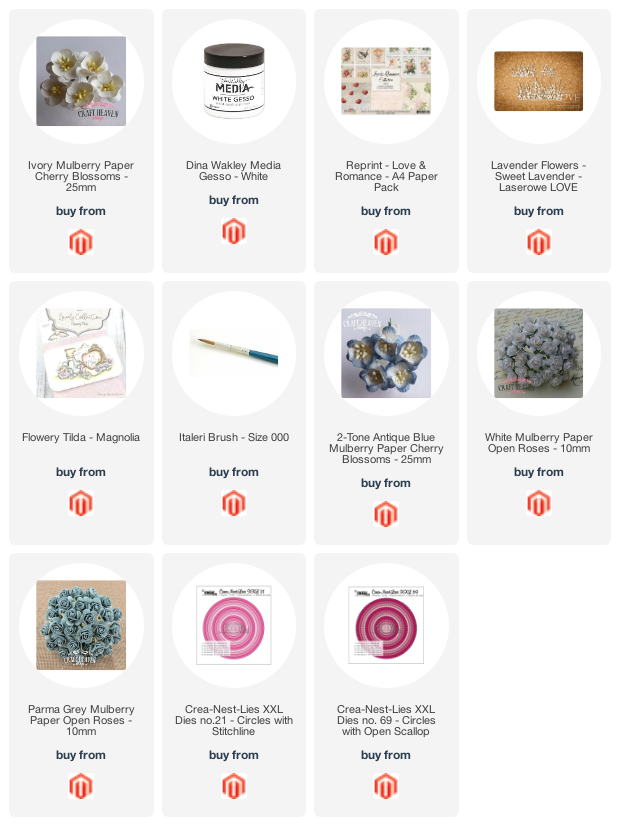
Good morning!  At last I am back with a new card.  I love this image from Magnolia, Flowery Tilda.  It makes me think of lovely spring and summer days having picnics.  The papers are from Reprint's Love and Romance Collection, this one has such a pretty pale green leaf pattern on it.  The gorgeous chipboard piece is by Lawerowe.  I love how these chipboard pieces give instant wow factor to projects.


As always, I have painted Tilda with Distress Inks.  I have stamped around the edges of the image mat with some postmark stamps from Magnolia.


The sentiment is from the Bunch of Lovely Sentiments set from Magnolia's Lovely Collection, stamped onto green paper from Pion Design.


I have painted the edges of the card with white Gesso to add a vintage look.


I hope you like it and thanks for looking!


torek, 2. februar 2021

Valentine's Card


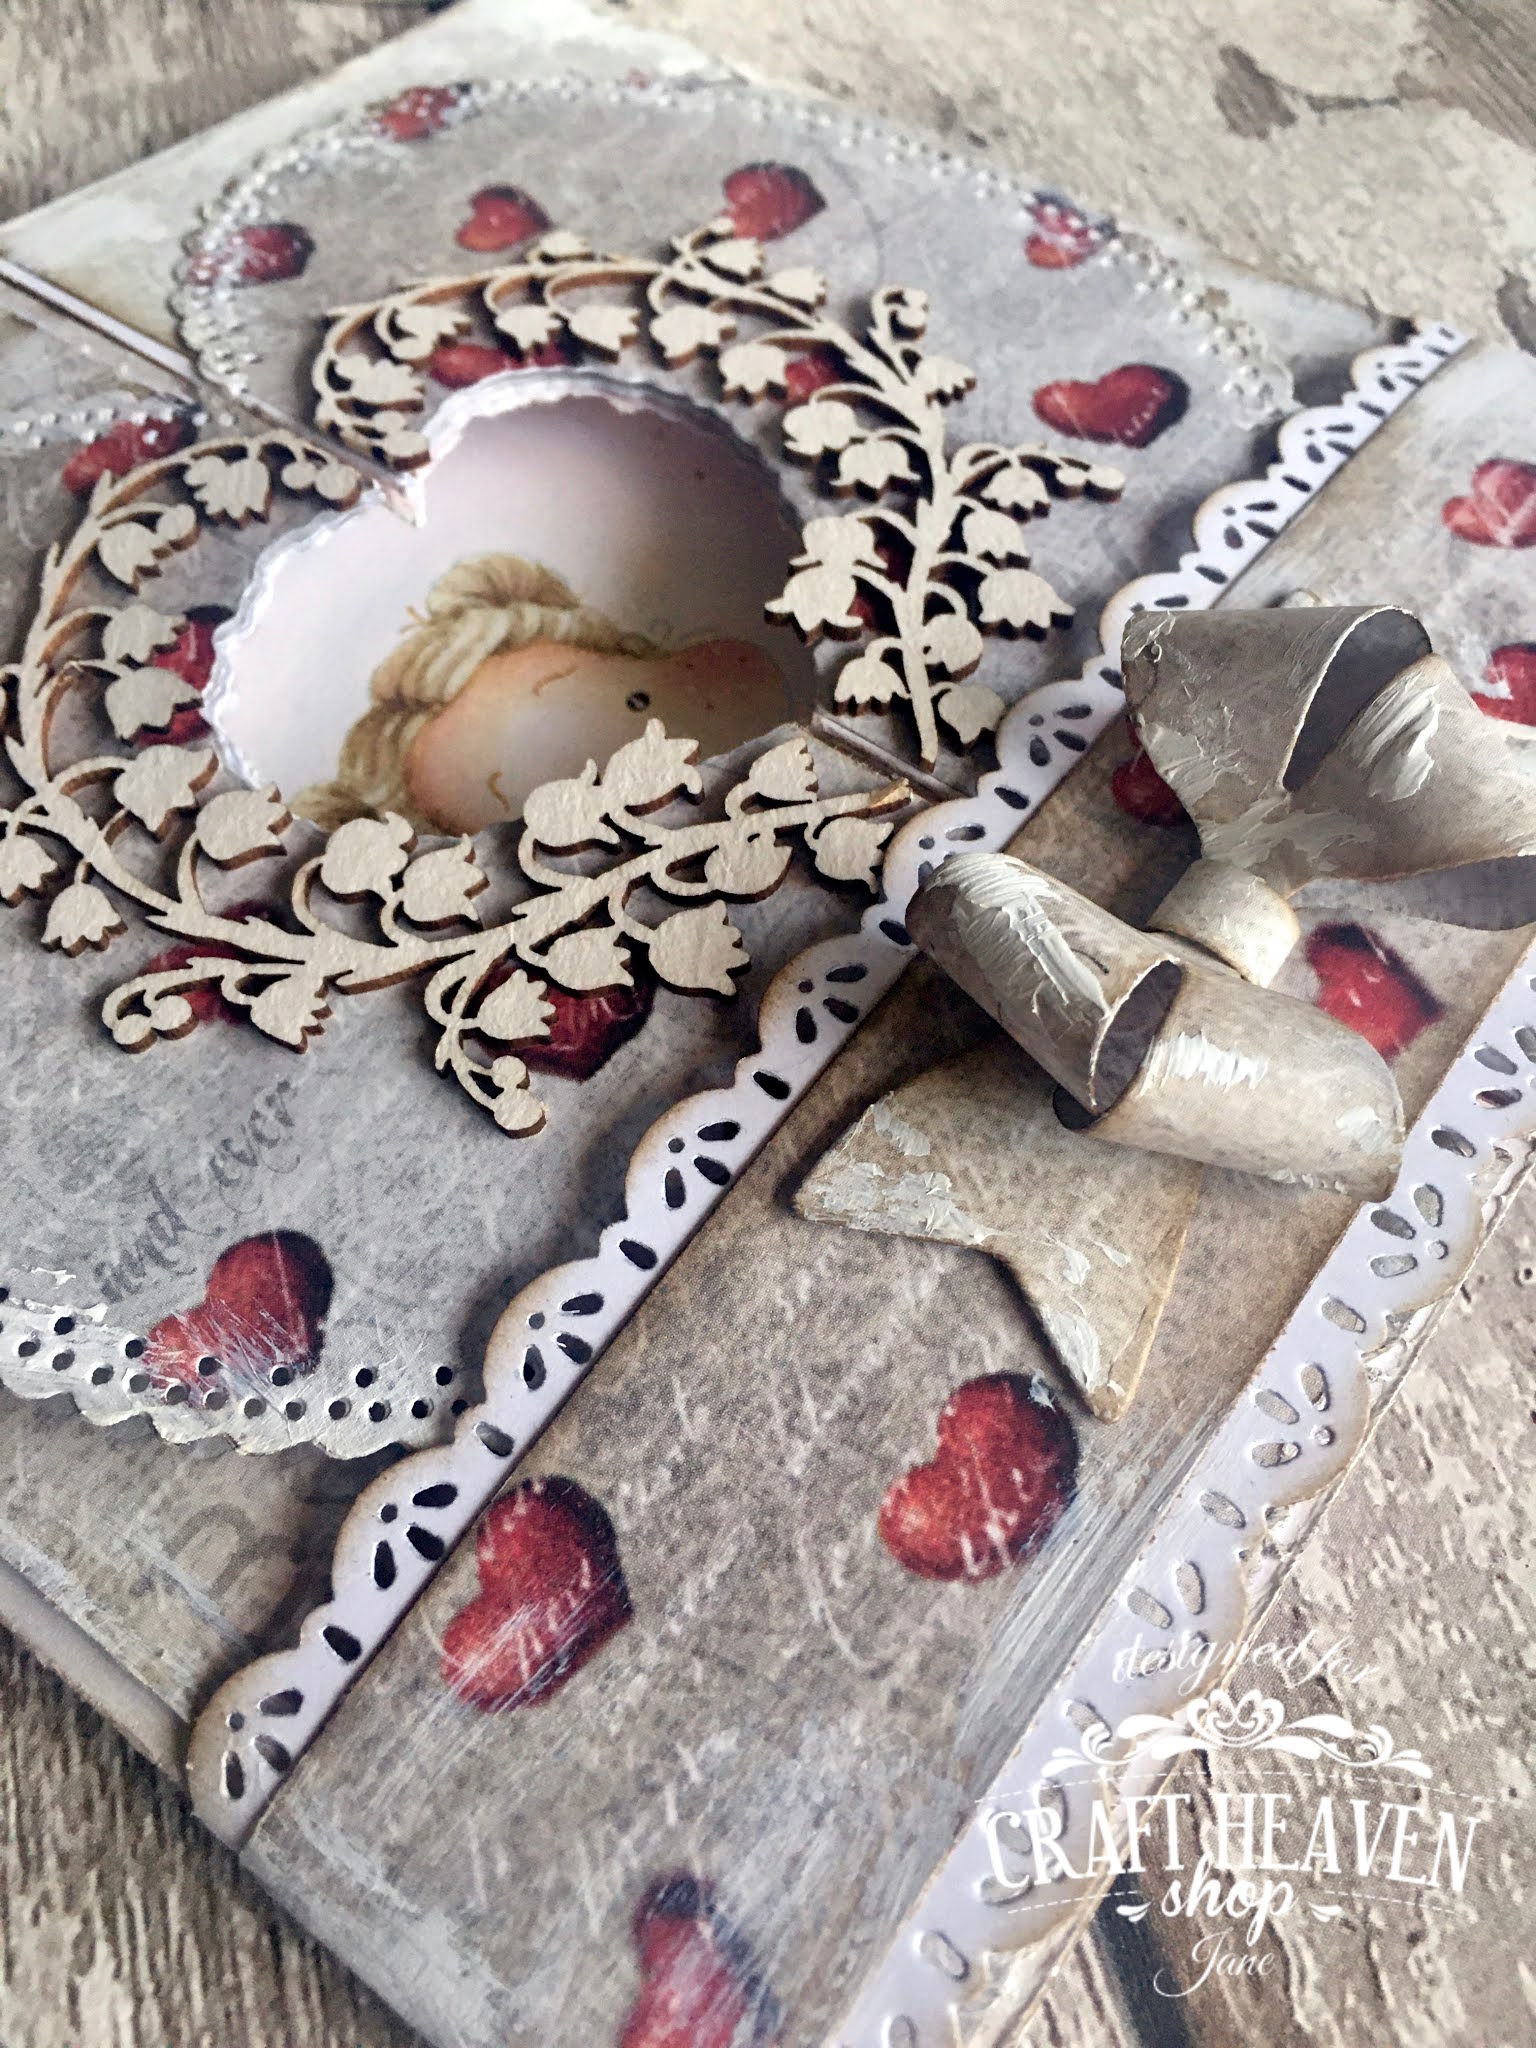
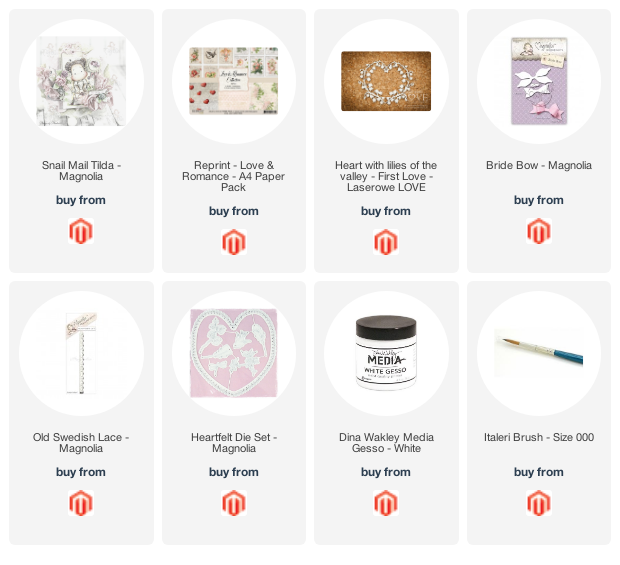
Good morning!  I have a Valentine's card to share with you today using some gorgeous Reprint Love & Romance papers and another cutie from Magnolia's Lovely Collection.  I finally, after years of coveting, acquired the Brides Bow Doohickey and have used it on the belly band of the card.  I have also used the Old Swedish Lace Doohickey for the beautiful lace edge.


This is what the card looks like once the belly band is removed.  Excuse my finger - it wouldn't stay closed for the photo otherwise!  I have used the Heart Frame Doohickey for the edges and the heart from the Woodland Tags Doohickey set for the aperture.  I have then framed the aperture with a piece by Scrapiniec which I cut in half so that it opens with the card.


The photo above shows the card fully opened.  Inside I have used more papers from the Reprint paper pack and Snail Mail Tilda, painted with Distress Inks.  I have also used one of the sentiments from the collection.


As always, Tilda was painted using the no lines technique.  I have added some stamping with various Magnolia post mark stamps around the edges of the image.


I hope you like it and thanks for looking! 

sreda, 23. december 2020

A Special Christmas Card


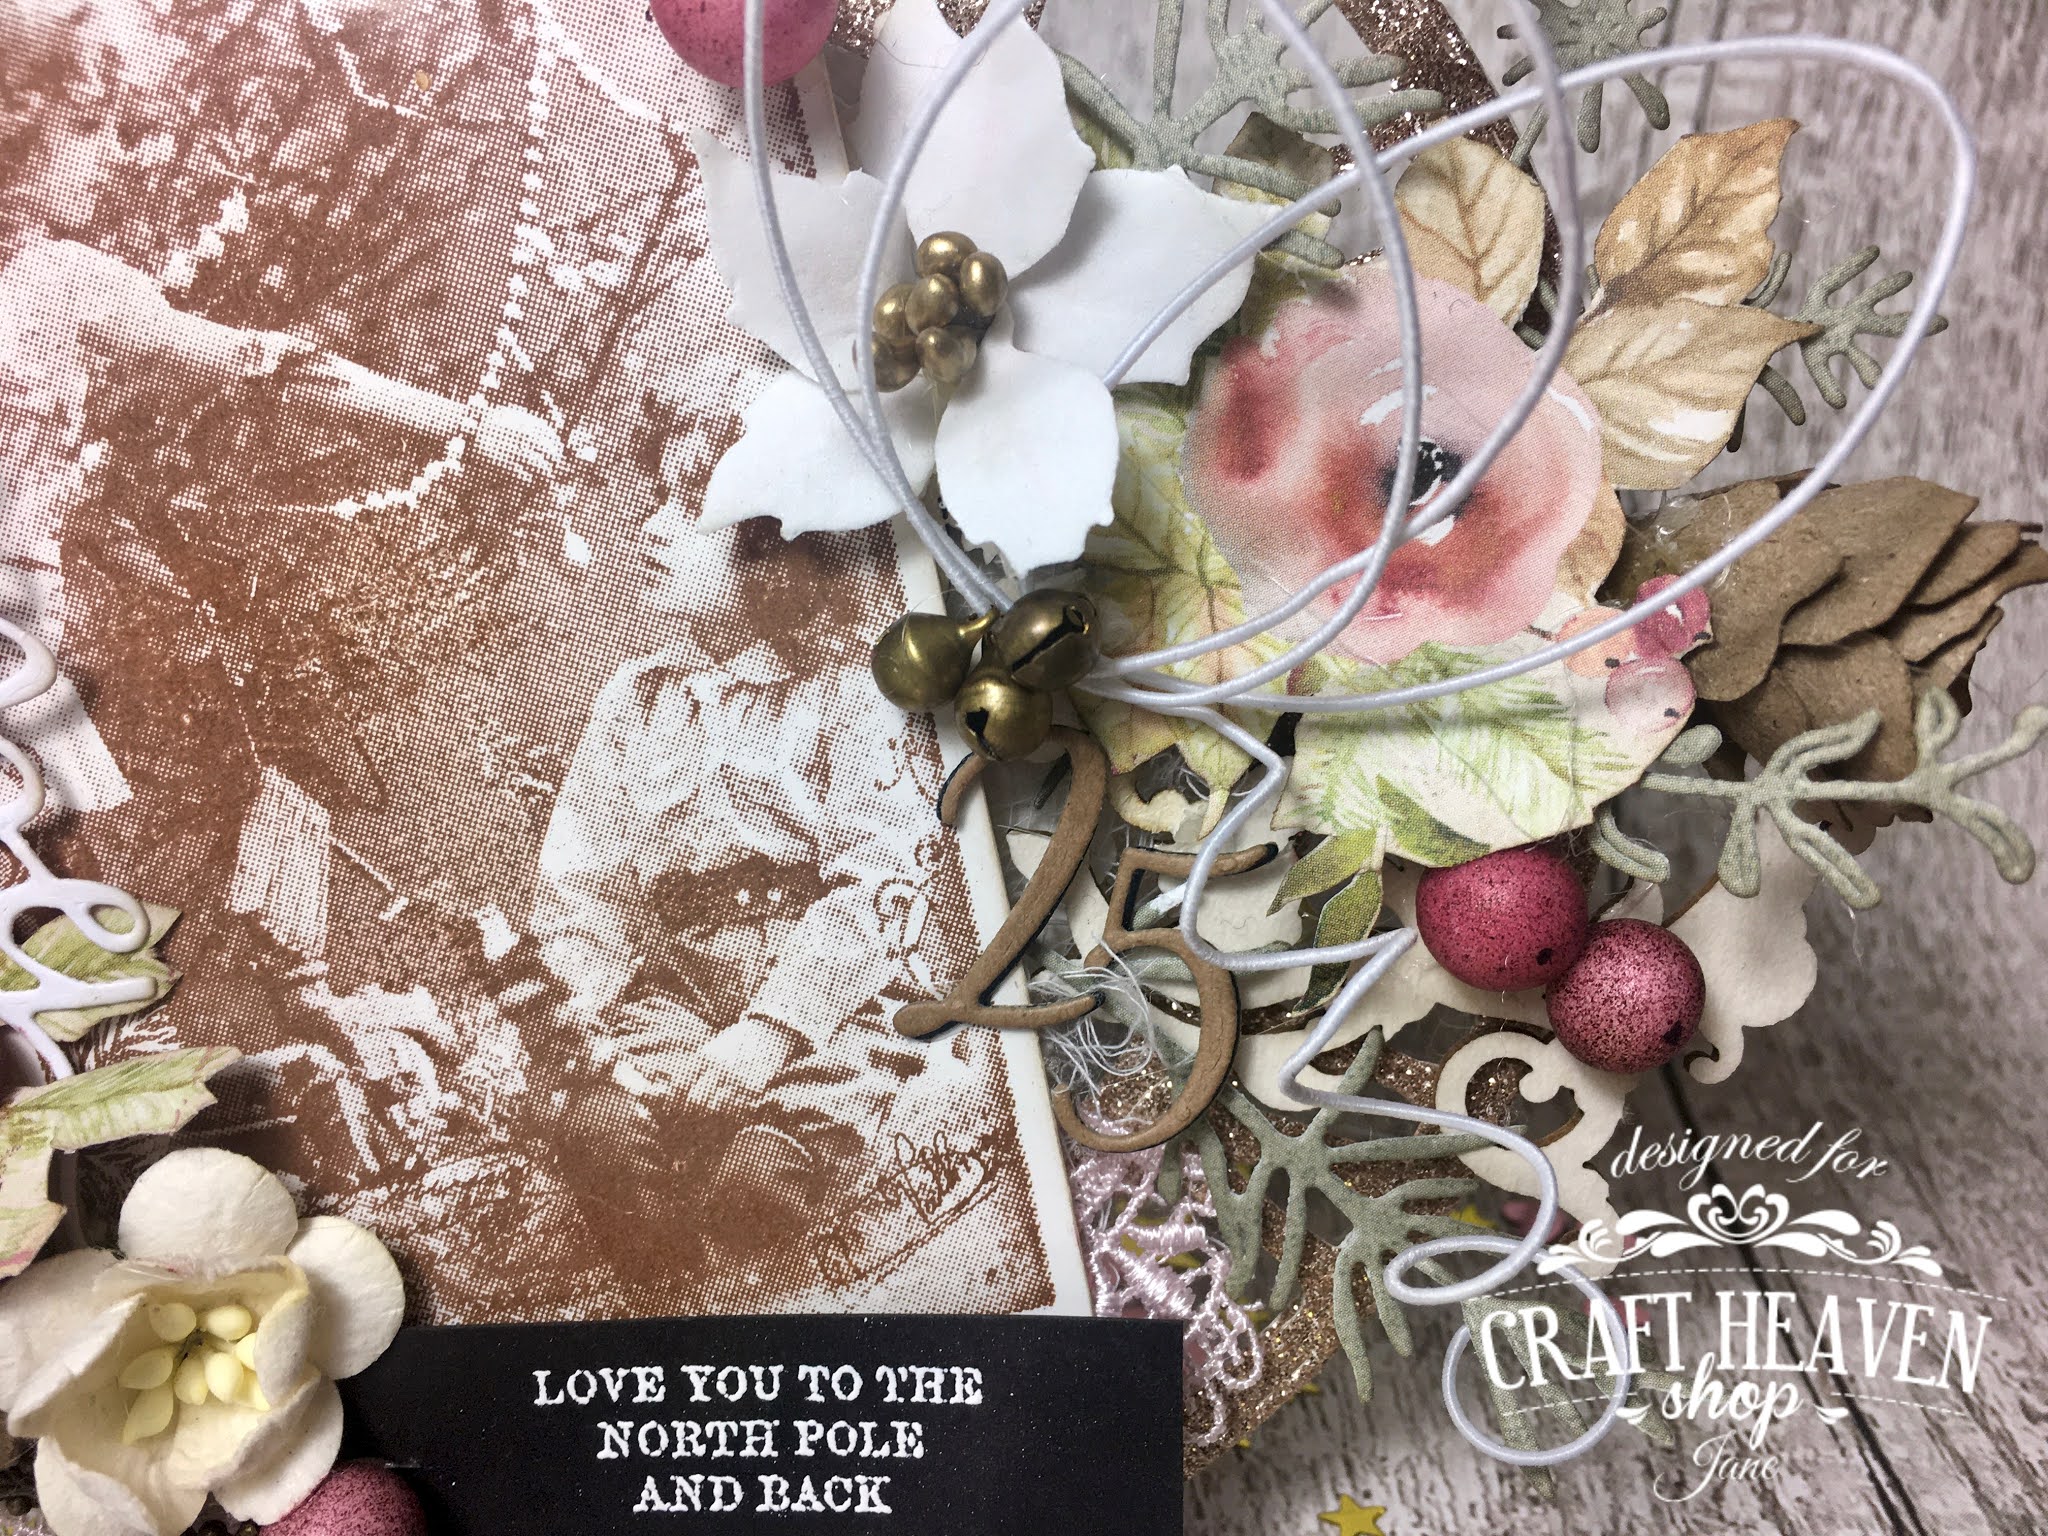
Good morning!  Today I'd lilke to share my favourite, and last, Christmas card of this year with you that I made for my parents inspired by a layout..  I have used the Tim Holtz Weathered Clock die for the base.  Sadly, the clock as it cuts out was not big enough for my requirements so I had a little brainwave - I cut a ring using large circle dies and then cut the numbers from the Tim Holtz die cut and added them to it.  Et voila!  A bigger weathered clock!  I have added Laserowe chipboard pieces behind the image on both sides.


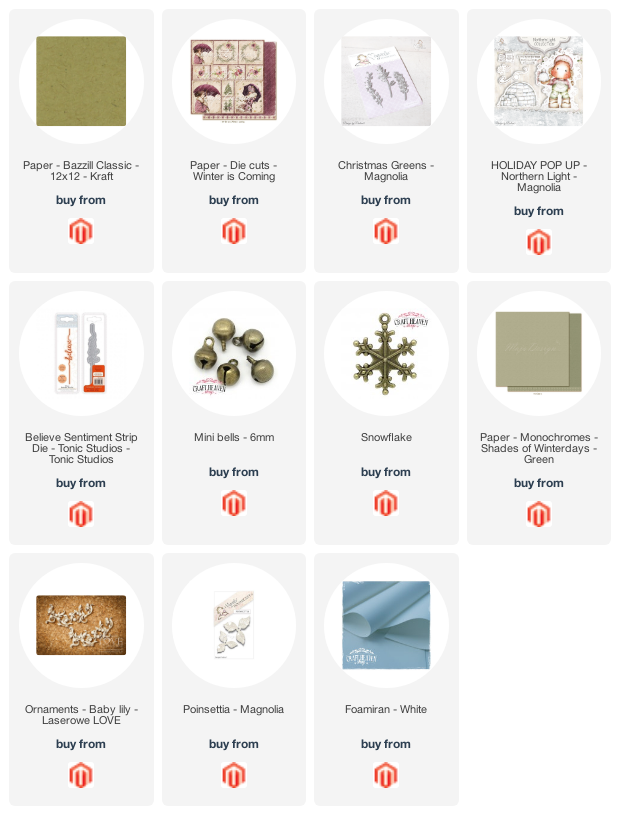
I have added lots of gorgeous Christmas details around the Stempelglede photo stamp image.  The paper flowers were cut from Maja Design paper and I added a cherry blossom and snowflake charm from Craft Heaven.  The pine cones were made with a Tim Holtz die and the berries are polystyrene balls inked with Festive Berries Distress Ink.  I also added a Believe die cut and an embossed sentiment using the stamp from the Magnolia Northern Lights stamp set.


On the other side I have added some bells from Craft Heaven and a poinsettia made with white Foamiran and the Magnolia Poinsettia die.  The 25 was cut from several layers of kraft cardstock using Thinlits dies and layered up to resemble chipboard.


 I hope you like it and thanks for looking!

ponedeljek, 27. julij 2020

Brother Birthday Card


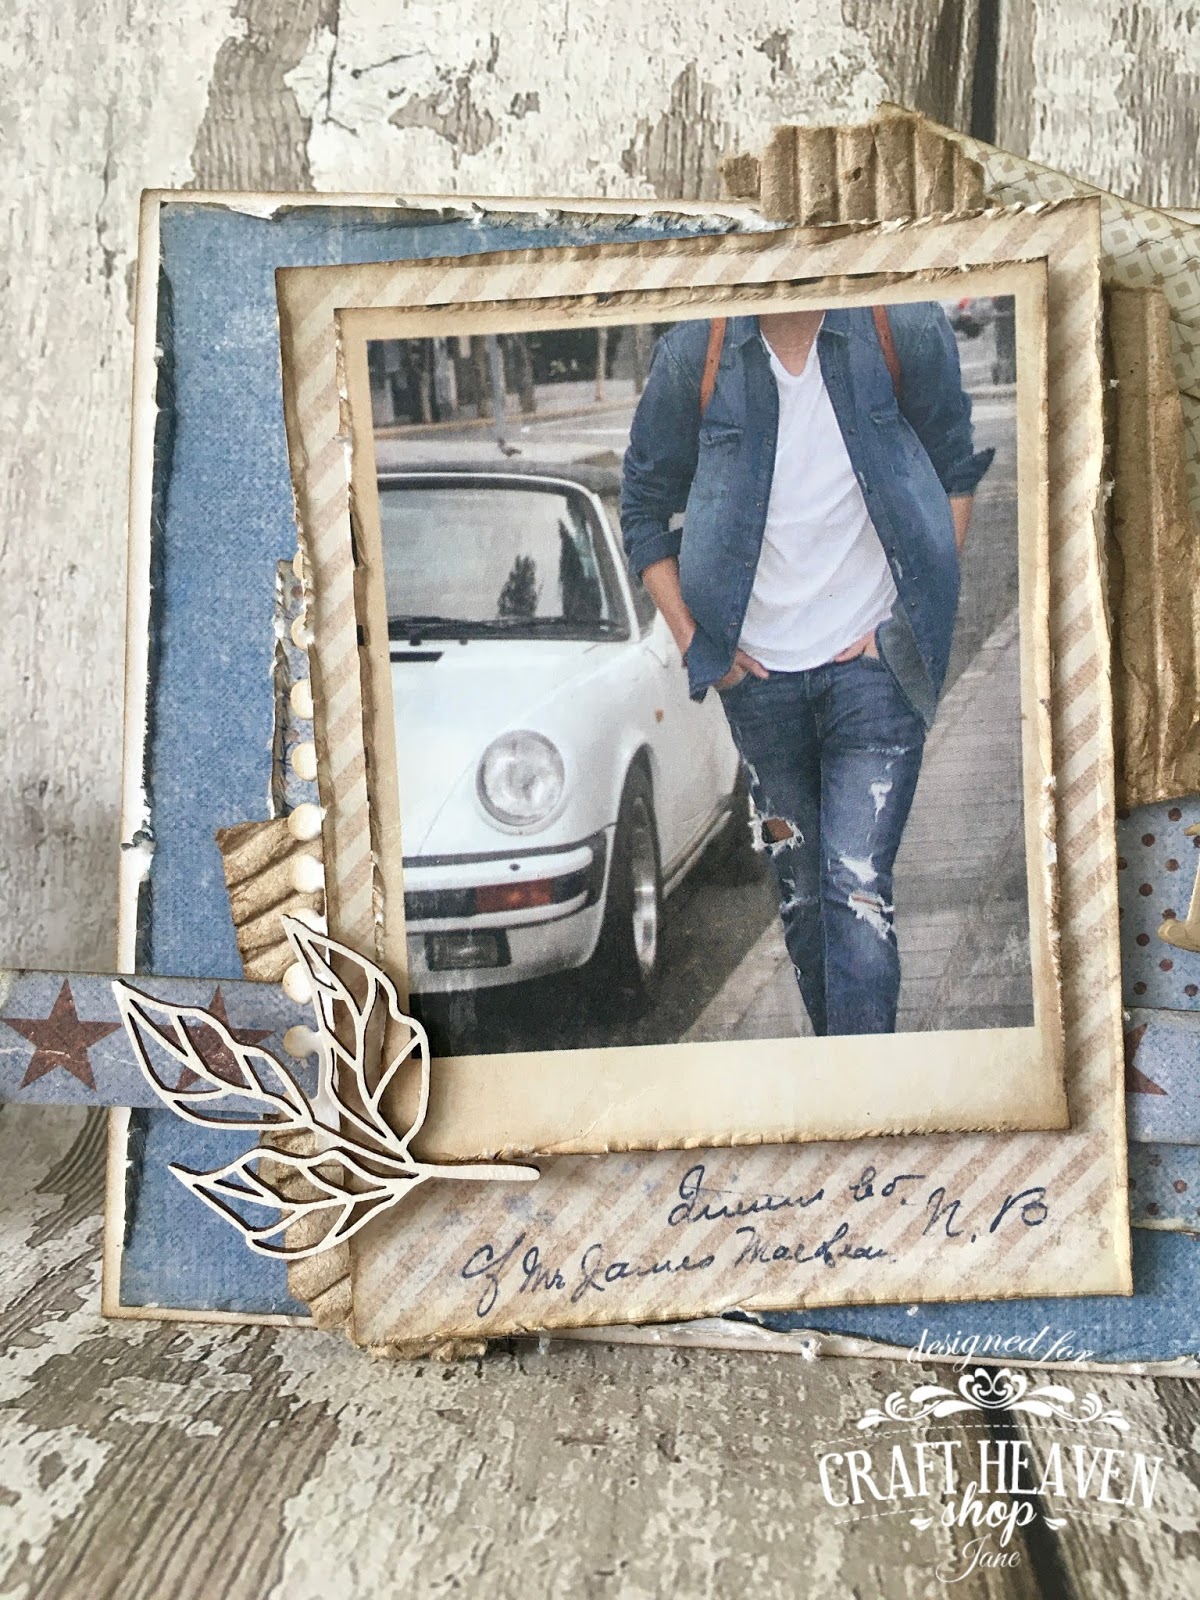
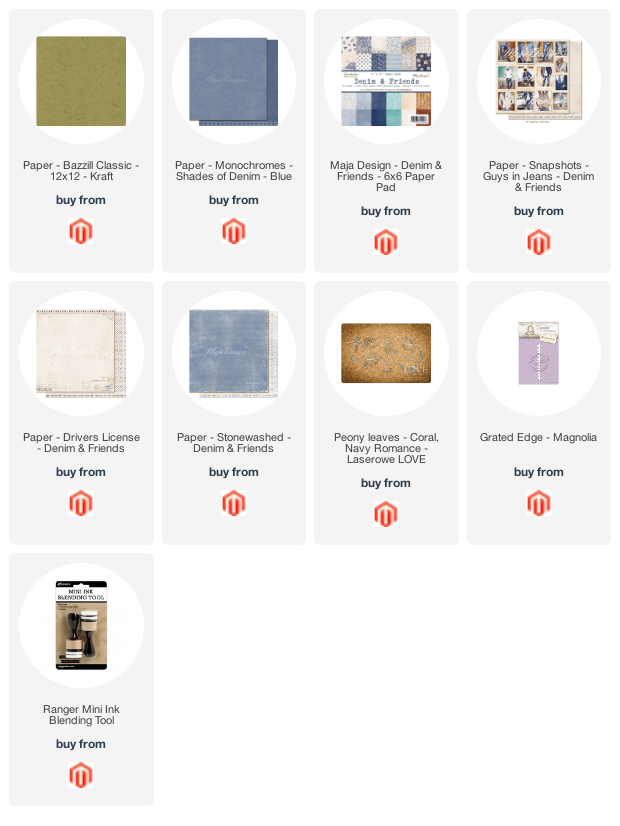
Good afternoon!  Today I have one of those tricky to make male birthday cards to show you.  I love Maja Design's Denim & Friends Collection for male cards.


I used one of the photo cut outs and mounted it onto the reverse side of the paper and used leaves from Lawerowe's Peony Leaves set.  Chipboard pieces are great for adding a bit of interest to male cards without using flowers.  Behind the image I have also added a strip of cream cardstock cut with the Grated Edge Doohickey die.

 I also love the decorative strips that Maja Design include on all of their papers.  I've used one here to add further interest and another chipboard piece.  The 'Brother' sentiment was cut with a die from my stash.


I made a little envelope to contain a money gift and used the Rich Rach Doohickey die to create a tear strip for it - love doing this!  I inked the edges of everything with Walnut Stain Distress ink.


I hope you like it and thanks for looking!

nedelja, 5. julij 2020

You Made It!


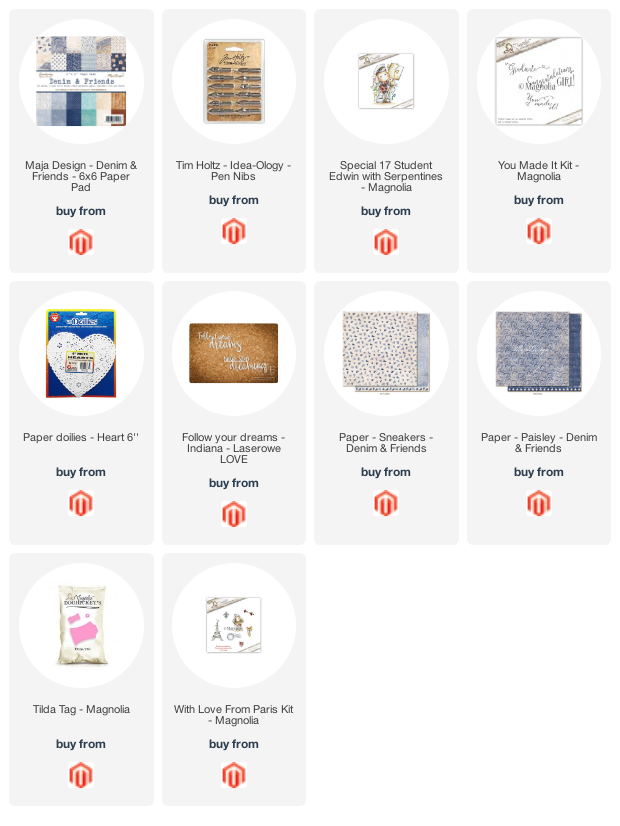
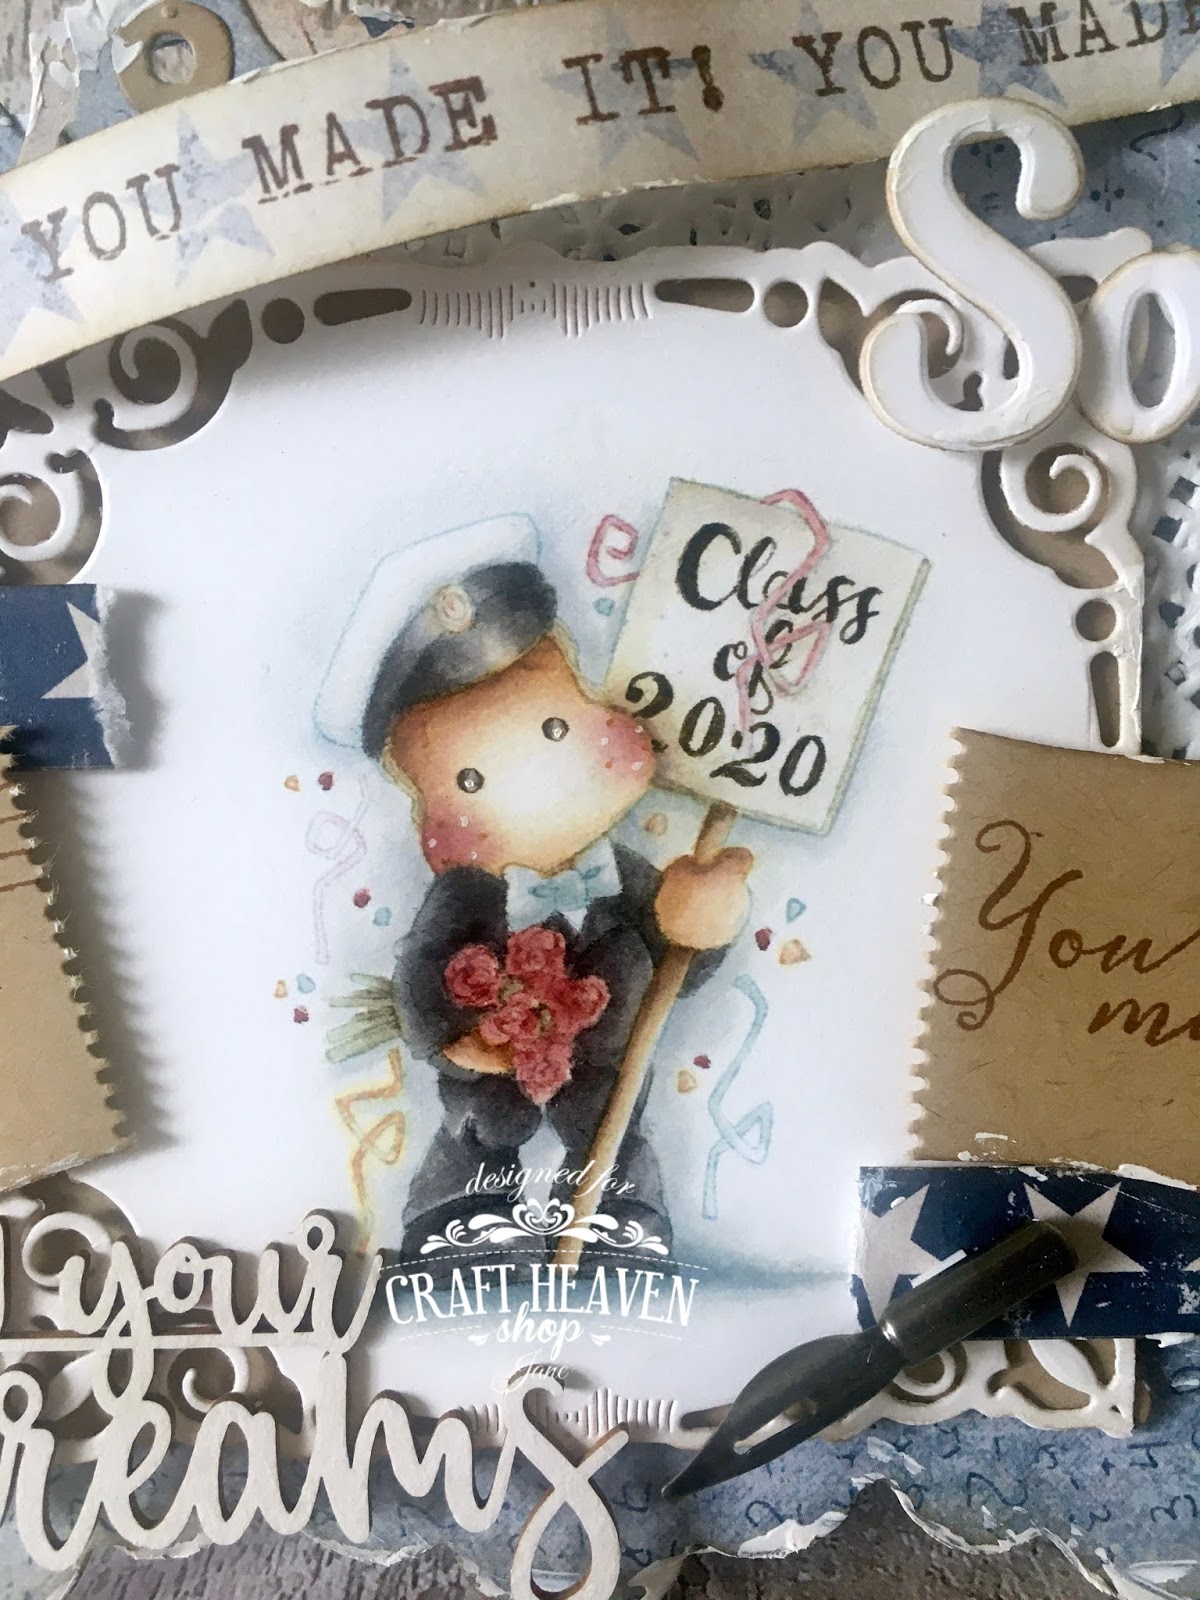
Good morning!  Today I have a card to share that I have made in advance for when my son receives his exam results.  It is always such a tense time waiting but particularly this year as the exams were cancelled and we are left waiting on the best teacher assessments possible.   Fingers crossed!  I have used paper from Maja Design's Denim & Friends.  This one was perfect with the maths workings on it!


The gorgeous image is Special 17 Student Edwin With Serpentines by Magnolia.  The placard is actually plain and I have hand written "Class of 2020" on it with a Distress Ink Marker.  I was so excited to receive the new Distress Ink colour, Speckled Egg, this week and have used it on Edwin's bowtie and the ribbon to his right.


The sentiment is another one from the You Made It kit, stamped onto a Tilda's Ticket die cut which I have torn in half and used either side of the image - like he's torn open his exam results envelope lol.  I have also added a pen nib from Tim Holtz - I love these - this one says Memoirs on it.


On the other half of the ticket I have used the postmark from the With Love From Paris stamp kit.  The gorgeous wooden "Follow your dreams" text is from Laswerowe.


I have used a heart doily behind the image and the "Son" lettering was cut with a set from my stash.


The star strips and You Made It! strips are cut from the bottom of Maja Design papers and the tags were cut with the Tilda Tag Doohickey from the Sweet Christmas Dreams Collection.


I hope you like it and thanks for looking.

petek, 22. maj 2020

Best Tea-Cher Ever!


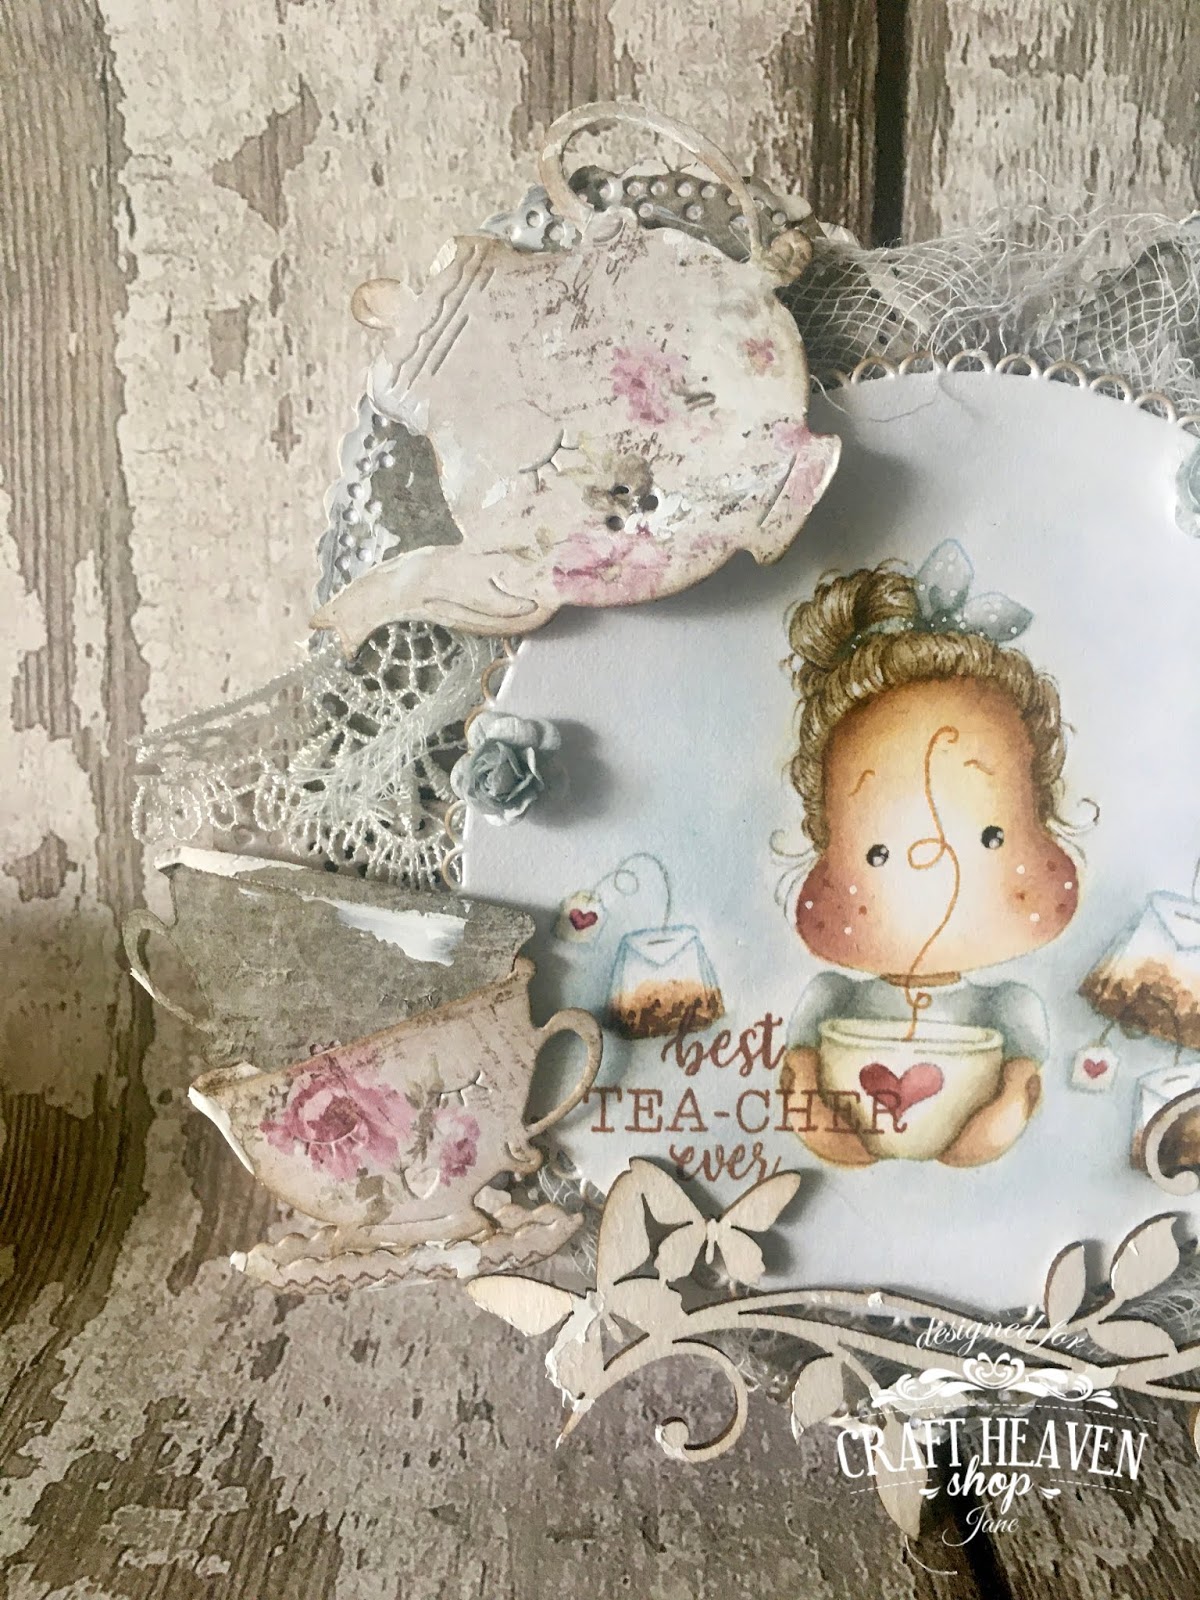
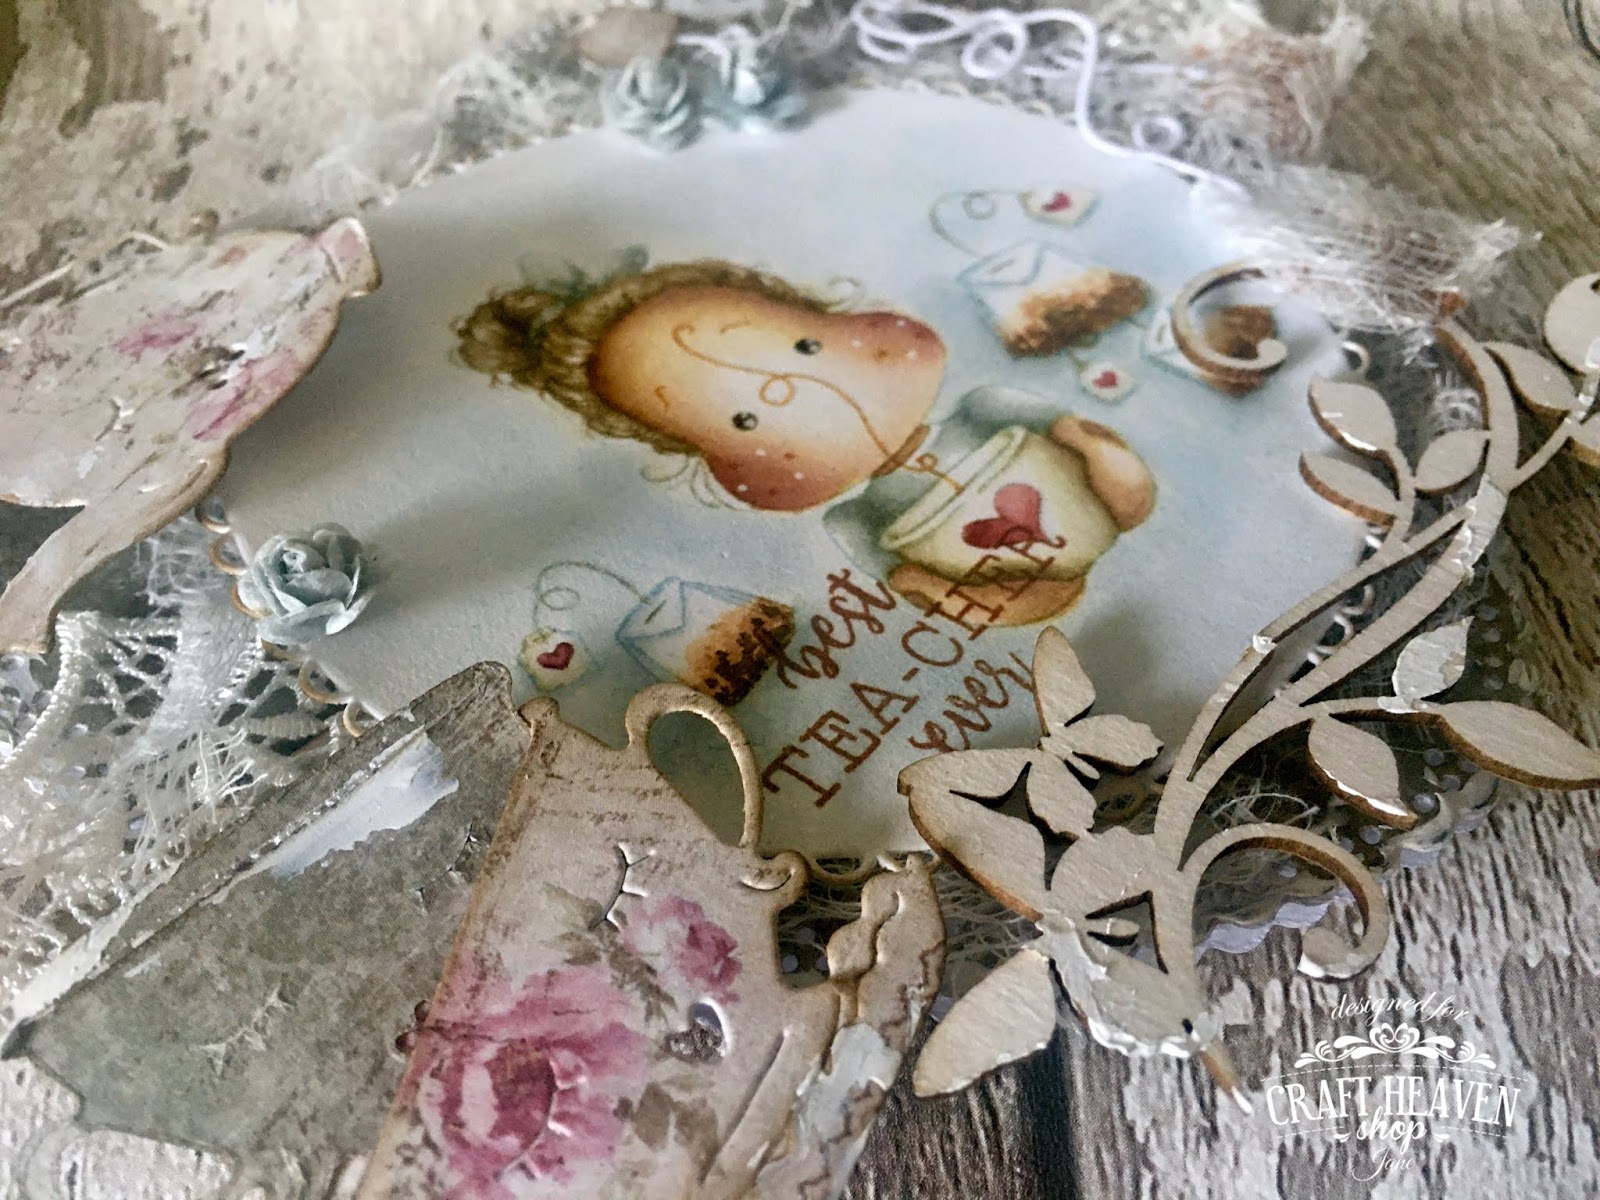
Good evening!  I hope my post finds you all safe and well in these worrying times.  It has been very hot and sunny the past few days here so I decided to spend some time painting an image in the garden instead of my craft room.  I have made a teacher thank you card with the resulting image, the gorgeous Best Tea-cher Ever stamp set from the Live, Laugh, Love Collection.


I have used all of the stamps in the set except the hearts and kisses stamp and layered the sentiment over parts of the image for a quirky look.  As always I have painted the images with Distress Inks using the no lines technique.


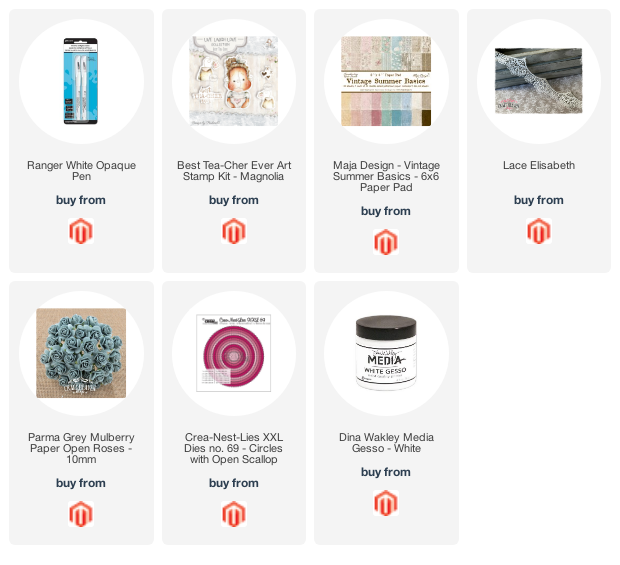
I have used the cup, saucer and teapot dies from Doohickey Volume 14, Afternoon Tea.  The papers are from Maja Design's Vintage Summer Basics Collection.


The gorgeous chipboard piece is by Laserowe.  I have added some Gesso to it here and there as well as around the edges of the card.


The lace and roses are from Craft Heaven.I made some cute tea bags using the dies from Volume 14 too.  I thought it would be fun to make them out of cheesecloth.  The 'tea leaves' are brown Flower Soft.  I love how they turned out!


I hope you like it and thanks for looking!

torek, 5. maj 2020

Rose Princess Tilda


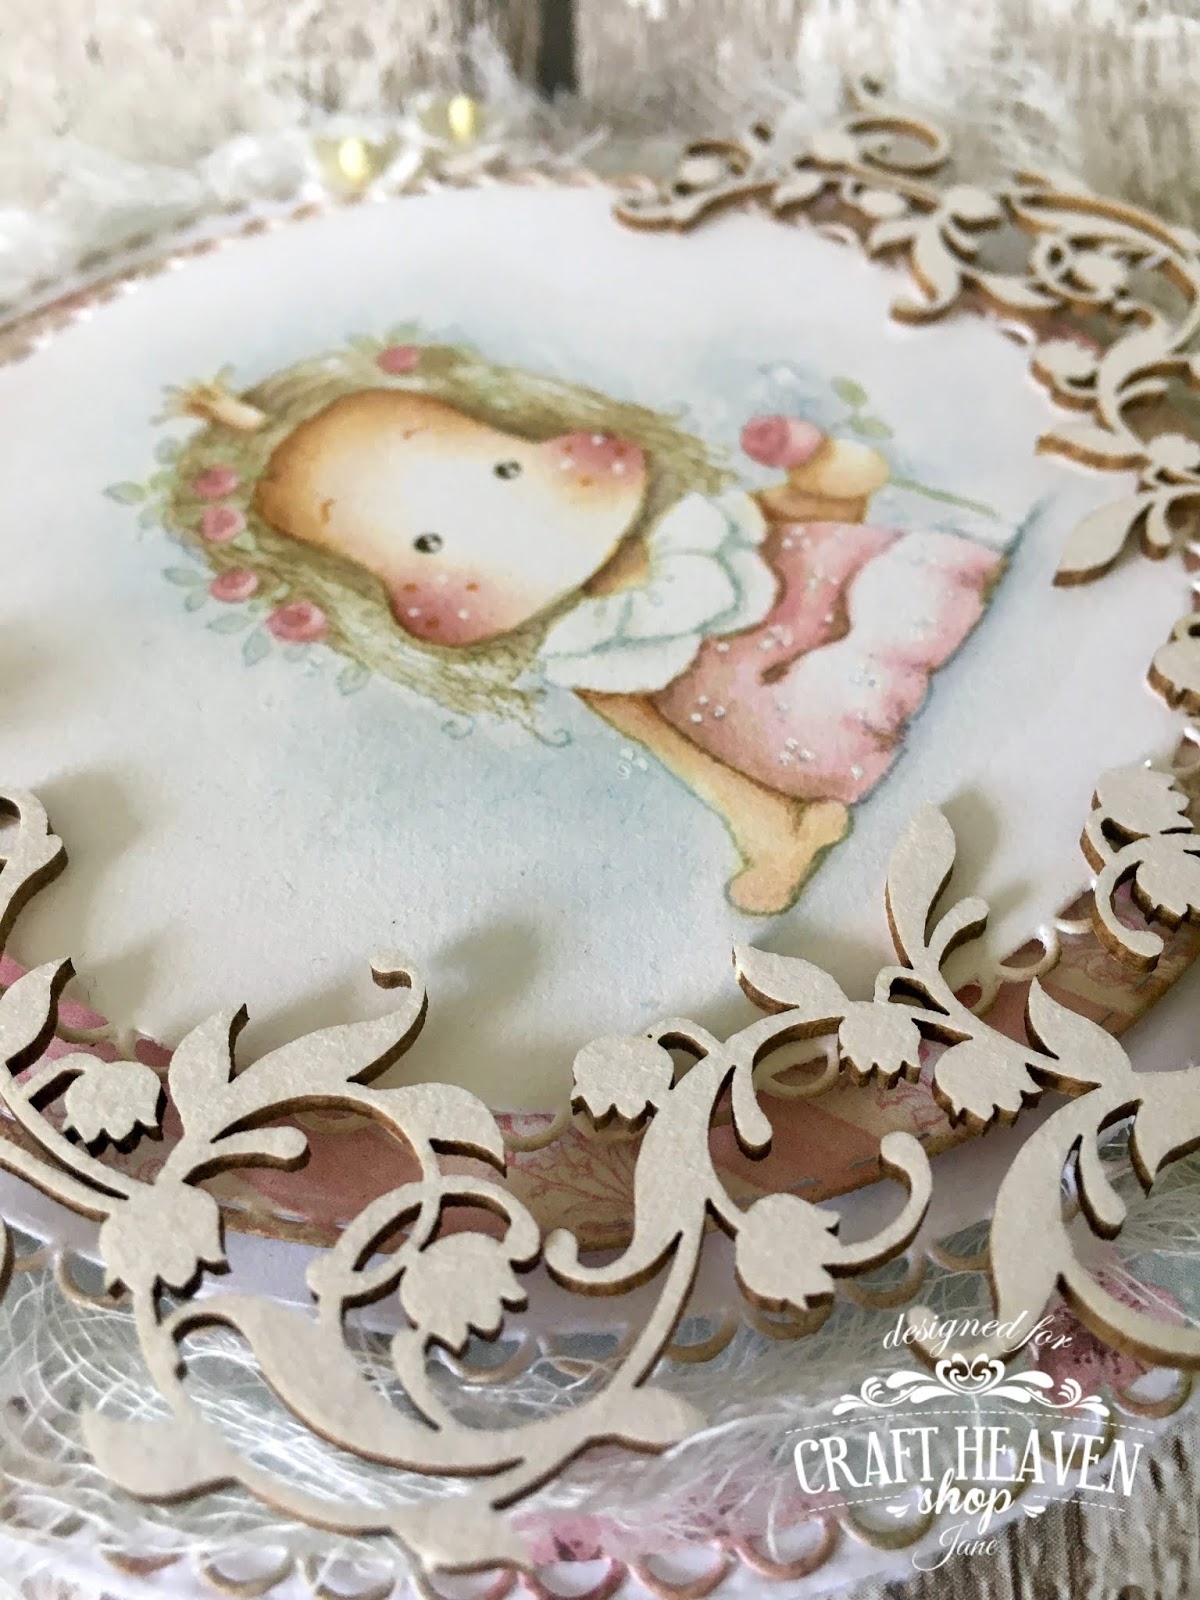
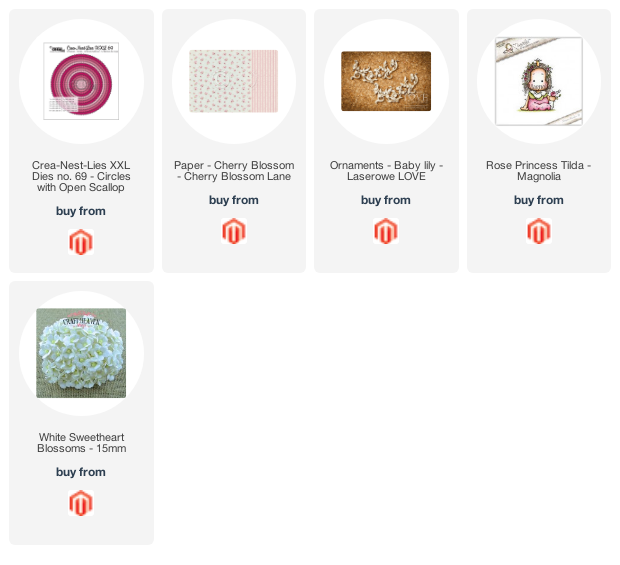
Good afternoon!  I hope my post finds you safe and well, wherever you are around the world.  Today's card features the gorgeous Rose Princess Tilda and paper from Pion Design's Cherry Blossom Lane collection.  This paper is so pretty!  I have used both sides on my card.


I have painted Tilda with Distress Inks using the no lines technique and added dots to her cheeks and dress with a white gel pen.


There is a wonderful selection of chipboard pieces in the Craft Heaven shop, there are the Baby Lily set.  These come with a backing cut out so that you can layer them up but I have used them on their own as I wanted a more delicate look.  The tiny blossoms are from the store too.


I hope you like it and thanks for looking!