
Hello everyone!
Here we are with the long awaited tutorial from our DT Liz for our
Name Your Technique week..
She made an adorable candle with a Magnolia image on it
and we have a step-by-step tutorial for you..
Liz will show you how you can transfer an image to a candle..
An easy an fun technique to try..
That's how the completed project looks like..

Now let's see how you can make one..

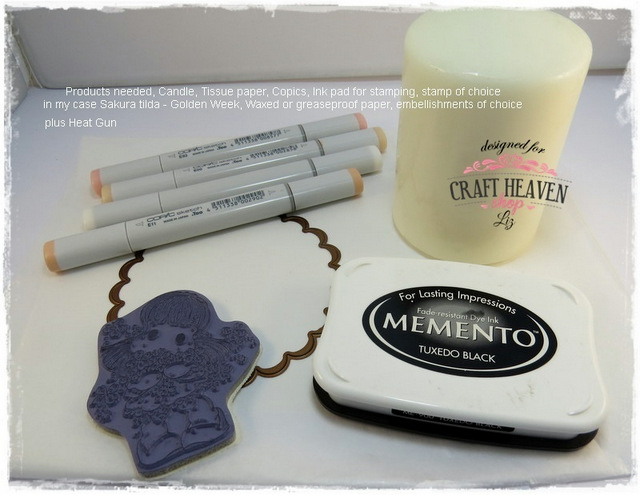
First you need to gather all the supplies..
Our Liz used Copic markers to colour the image but you can use Distress Inks or any other colouring medium as well..

Then you can stamp and colour your image..

Once you are done colouring you will need to cut the image out..

Place your image on your candle..

Cover everything with some waxed paper..

And heat it with your heat gun..
You could use a blowdrier if you don't have one..
It just may take a bit longer to heat set the image..

Keep heating it..
You can clearly see that parts of the image are already adhering..

You're almost done..

Gently unwrap the waxed paper from the candle..

Your image is perfectly transfered and now you can finish embellishing your candle..

Of course you could leave it just as it is if you want..

Enjoy your day!
Hugs, Tina and the Craft Heaven Shop DT
Here we are with the long awaited tutorial from our DT Liz for our
Name Your Technique week..
She made an adorable candle with a Magnolia image on it
and we have a step-by-step tutorial for you..
Liz will show you how you can transfer an image to a candle..
An easy an fun technique to try..
That's how the completed project looks like..

Now let's see how you can make one..
Our Liz used Copic markers to colour the image but you can use Distress Inks or any other colouring medium as well..

Then you can stamp and colour your image..

Once you are done colouring you will need to cut the image out..

Place your image on your candle..

Cover everything with some waxed paper..

And heat it with your heat gun..
You could use a blowdrier if you don't have one..
It just may take a bit longer to heat set the image..

Keep heating it..
You can clearly see that parts of the image are already adhering..

You're almost done..


Your image is perfectly transfered and now you can finish embellishing your candle..

Of course you could leave it just as it is if you want..
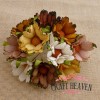
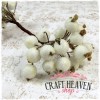
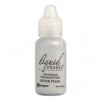
But with a small doily like base, a bit of Liquid Pearls and WOC flowers and berries it's more stunning than ever..
Hope you enjoyed our little tutorial today..
We'll be back tomorrow of course with a new weekly theme..
Hugs, Tina and the Craft Heaven Shop DT


Ni komentarjev:
Objavite komentar